Click Here for Part 1
Maybe you recently purchased an Estes Saturn V, and yet you are afraid to begin building it.
Am I ready for this? you might ask yourself. The Saturn V is listed as a Skill Level 4 kit (some might consider it more of a Skill Level 5 rocket). That term - Skill Level - can be intimidating for people. How do you know if you've graduated to the next one?
When I was first starting out, building Skill Level 1 rockets, I was nervous about building a Skill Level 2 kit, but it turns out a lot of these things are arbitrary. The Crossfire ISX, for example, one of two rockets which come with the
Tandem X Launch Set, is considered a Skill Level 1 kit.
I actually think it should be labeled a 2, because some of the thick plastic parts require some cutting and trimming, and it might be a bit tricky for a new builder.
On the other hand, the Goblin is a Skill Level 2 kit, and for the life of me, I cannot figure out why.
The Goblin could hardly be a simpler build. The only thing I can think of is that it flies on D motors, and maybe Estes wants beginners to start out with something in the A-B-C range first.
Nevertheless, the Saturn V
is an advanced rocket kit. It certainly shouldn't be one of your first builds. But, if you've been doing this for a while now, and if the rockets you're currently building look better than the ones you built when you started, you're probably better at this than you think. And, as I indicated in the title of my previous post, the thing about building a challenging kit like this, if it's a new level of building for you, is to take it
one small step at a time. Follow the directions, work slowly, and think about what you're doing before you do it, and you'll probably end up with a pretty good looking Saturn V.
Can you screw this up? Sure! As I write this, I'm still in the early stages of building, and there's plenty of time for me to make mistakes. But there's no other equivalent rocket for you to "practice" on, and if you want a Saturn V, I suggest you take your time and build one. You'll definitely learn something, and I'm pretty sure you'll be happy with the results.
OK, on to the build! Here's a picture of the box with the contents inside. I should probably have taken pictures of all the parts laid out, but I didn't, so there we are. If you're building an Estes Saturn V, you can take a look in your own box and see all the parts.
Prepping the Tube Ends
The first thing I do is prep all the tube ends, by running a ring of thin CA - cyanoacrylate or hobby grade super glue - around the inside edge of both ends of each tube.
CA can be hazardous, so be careful. Specifically, it can glue parts of your body together (including fingers
and eyelids, so keep it away from your face!), and large quantities of it can give you a bad chemical burn as it cures.
I try to do both ends of all tubes when building a model rocket. I used to only do the nose cone end, and sometimes I forget to do the motor tube, but I try to do all of them. Thin or medium thickness CA can be used. I like the thin stuff, because it wicks into all the paper fibers, even on thicker high power rocket tubes. Run a bit around the edge and quickly wipe off excess with a bit of paper towel or cotton swab.
The advantage of CA on the ends of the tubes are threefold. First, it hardens the paper fibers and adds a bit of strength to the ends of the tubes, which can be pretty thin on some rockets. Second, if you need to sand the inside of the tube to get something to fit, it will enable you to sand it nice and smooth, rather than shredding the paper. Thirdly, it protects the vulnerable edges of the tubes from water damage.
For example, let's say your rocket lands on some wet grass, and it takes you a few minutes to get to it. Well, if the rocket is painted, the body tube will be sealed from water damage, and be just fine. But if the ends of the tube - either the motor end or the nose cone end - aren't covered completely in paint, moisture can get in between the layers and quickly cause them to separate. Not a problem if you've prepped the ends with CA.
Or even way before that, when you're just starting to paint your rocket, say you're halfway through painting a nice coat of white when the spray can starts spitting chunks of pigment. You end up with sharp little bumps that look horrible, and would never allow you to put any decals on the rocket (this has happened to me many times). The solution is then to let the paint dry and
wet sand the damaged paint off, using some wet/dry sandpaper and little bit of water. Again, the paint on the rocket will protect the tube from water damage, but if a dribble of water runs down the tube while you're sanding, and gets on the end of the tube, again, the layers will delaminate, and you'll have a terrible looking rocket. A bit of CA during building can help prevent this.
Assembling the Motor Mount
The motor mount for the Saturn V is similar to most Estes kits. There is a green
thrust ring, sometimes called an
engine block, which gets glued into the motor tube to prevent the motor sliding forward. There is a motor hook - a long one in this case, for longer E black powder and composite motors. And there is a sleeve to hold the hook in place on the outside of the motor tube. Rather than being a thin Mylar ring as is the case with low power Estes kits, this sleeve is a sturdy paper tube.
Instructions are standard. Run a ring of glue around the inside of the tube, insert the thrust ring and push it into place with the supplied spacer/pusher tube, cut a slit for the hook and insert it, then glue the sleeve into place over the hook.
Estes' instructions recommend two motors for this rocket: the Estes E12-4 black powder motor, and the Estes E30-4 composite motor, but in fact there are a number of motors which would fit. The hook gives you 95mm of space from front to back, so any 24mm composite motor from AeroTech would also fit (for shorter ones, you'd need to insert a spacer into the motor tube).
 |
| The AeroTech 24/60 casing, top, and 24/40 casing, bottom. The 24/60 is 95mm long - the same length as an Estes E12. |
 |
| Distortion in the first photo makes the 24/60 casing look too long for the hook. It's not. |
So, there are a variety of great motors, from Estes and AeroTech, available for you to try in the Saturn V. (Actually, the Estes composite motors were all manufactured by AeroTech, so if you've flown one of those, you've flown what is essentially an AeroTech motor).
But there are other 24mm motors which will not fit, and I happen to fly some of those. My club's on-site vendor is
Animal Motor Works, and they deal mostly in Cesaroni composite motors. I have a casing for their three-grain motors, which is too long to fit with the hook and thrust block in place.
 |
| A Cesaroni 3-grain motor casing compared with an Estes E12 motor. CTI has 24mm motors as long as six grains! |
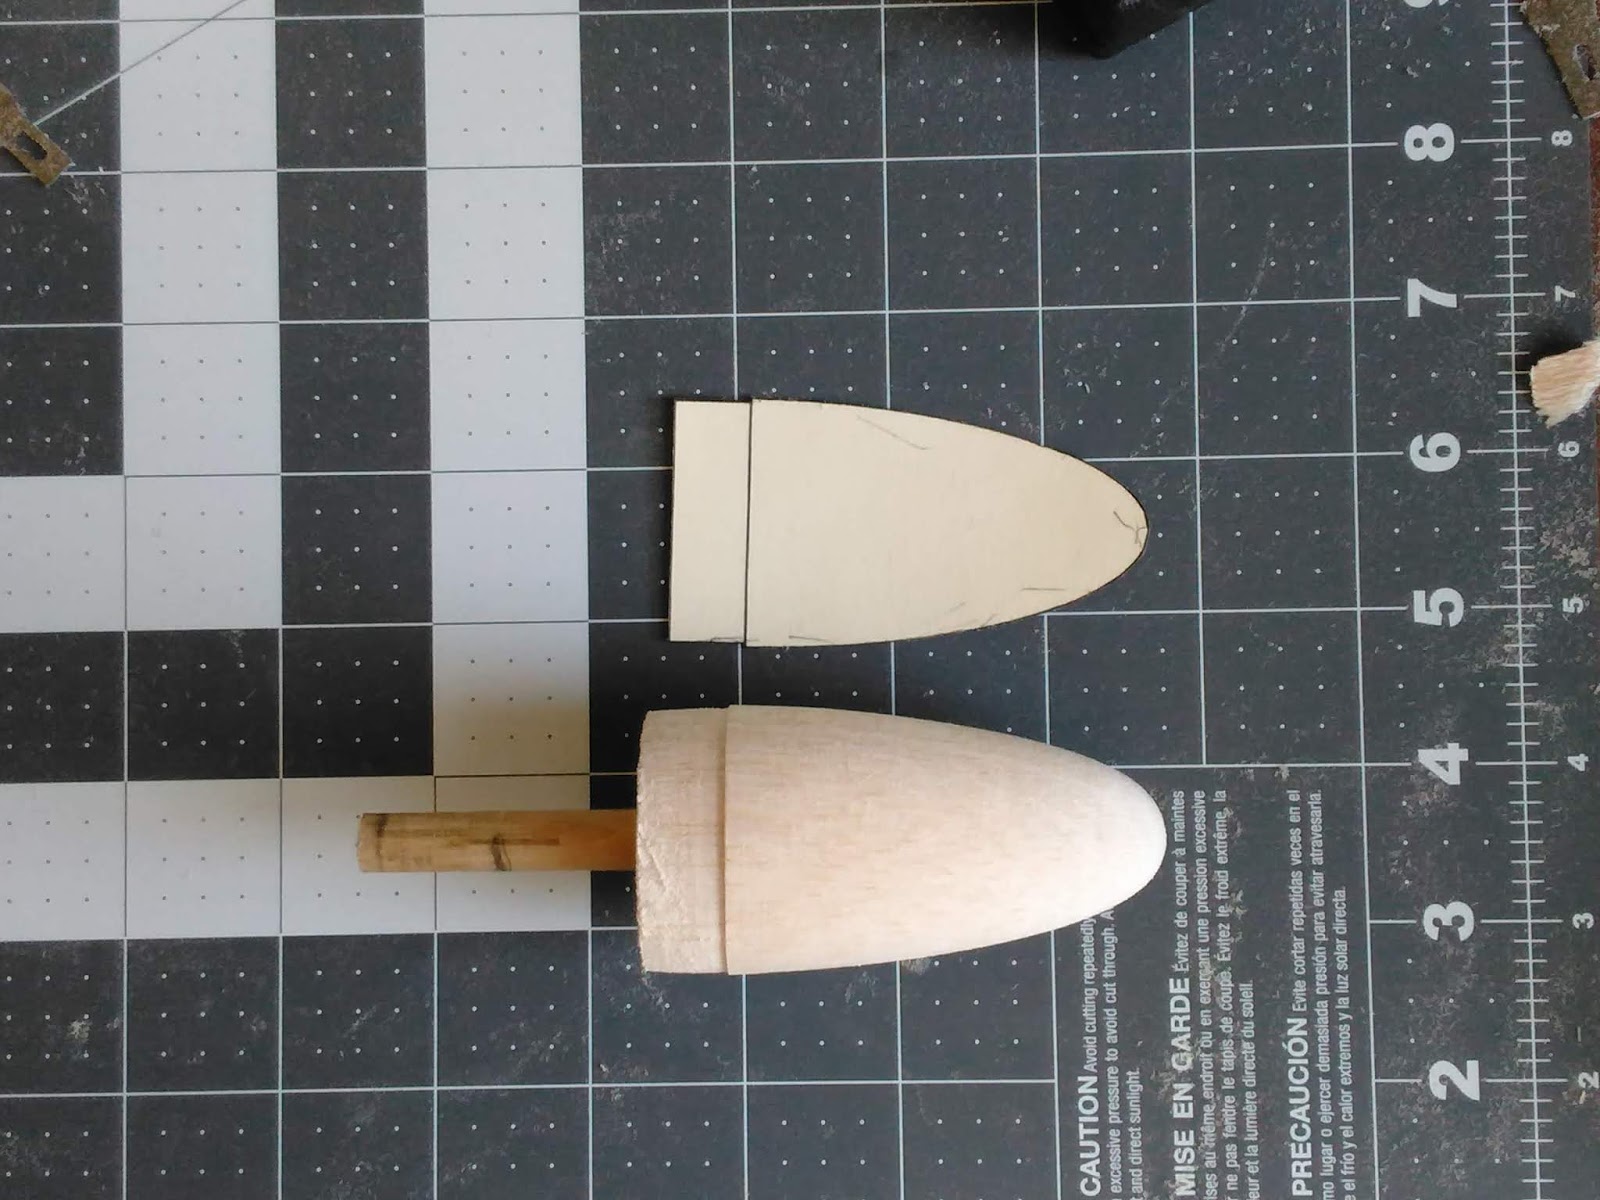
One motor I'm looking to try in particular is the Cesaroni F30, which is a 3-grain composite motor which leaves a white smoke trail and burns for about 2.4 seconds - pretty long for a small composite motor. It's longer burn time is due in part to its
core geometry, or the shape of the hole running down through the propellant grains. It's what's known as a
moon burner, since the hole is off center.
 |
The end of a Cesaroni F-30 motor grain, showing the core running down one side. The hole in the middle
is at an angle, and only about an inch deep, and is just there to guide the igniter into the side core. |
A moon burner sounds pretty perfect for a moon rocket, so I decided to deviate from the instructions a bit.
Motor Retainer
Luckily, Estes makes a 24mm screw-on motor retainer. These come in two parts - one gets epoxied to the end of the motor tube, and the screw-on cap comes on and off to install or remove a motor. They use the 29mm version in their Pro Series kits, and the 24mm in a few of their smaller kits. They also sell both sizes separately, and they're great!
Nearly all composite motors on the market now have a built-in thrust ring on the back end. That's the wider bit you see on the back end of the AeroTech and Cesaroni casings above. They are also present on all AeroTech and Estes single-use composite motors. The nice thing about them is that they do the job of the little green engine block ring you normally glue into the motor tube. If you are lucky enough to get your hands on one of the discontinued Pro Series "builder" kits - like the Leviathan, Partizon, Ventris, or Argent - experienced rocketeers will tell you to leave the green thrust ring out of the motor tube. You'll only be limiting the size of motors you can use, because anything that's too long won't fit!
If I wanted to fly with a motor that didn't come with a built in thrust ring, I could simply create one, by wrapping a narrow strip of tape around the base of the motor until it was wide enough to prevent the motor moving forward. Then I could install it just like a composite motor, and screw the retainer in place.
Some people are skeptical that this would work - wouldn't the tape fail? And isn't that a violation of the Model Rocket Safety Code's rule about modifying motors?
But it really does work, and the MRSC has a rule against "tampering with" motors, which is not the same as putting a little tape on the outside of it. The NAR does not consider wrapping tape around a motor to be tampering. Heck, using a wrap of tape to get a friction fit in small competition models is common practice!
Mass Components and Stability
Whenever you alter the design of a kit, especially if you might be using a heavier motor than what was in mind when it was designed, you need to make sure the rocket remains stable. Your distribution of mass might change, and therefore the center of gravity (CG) may change. If the CG moves too far aftward, toward the bottom of the rocket, your CG may end up too close to the center of pressure (CP), resulting in a marginally stable rocket. Anything other than ideal flying conditions would make the rocket go unstable. Or worse, your CG may end up
behind the center of pressure. In that case, you'd have an unstable rocket.
I'll need to keep my eye on stability as I choose motors. For now, though, I wanted to see if I was changing the CG by switching from a motor hook, sleeve, and engine block to a simple screw-on retainer.
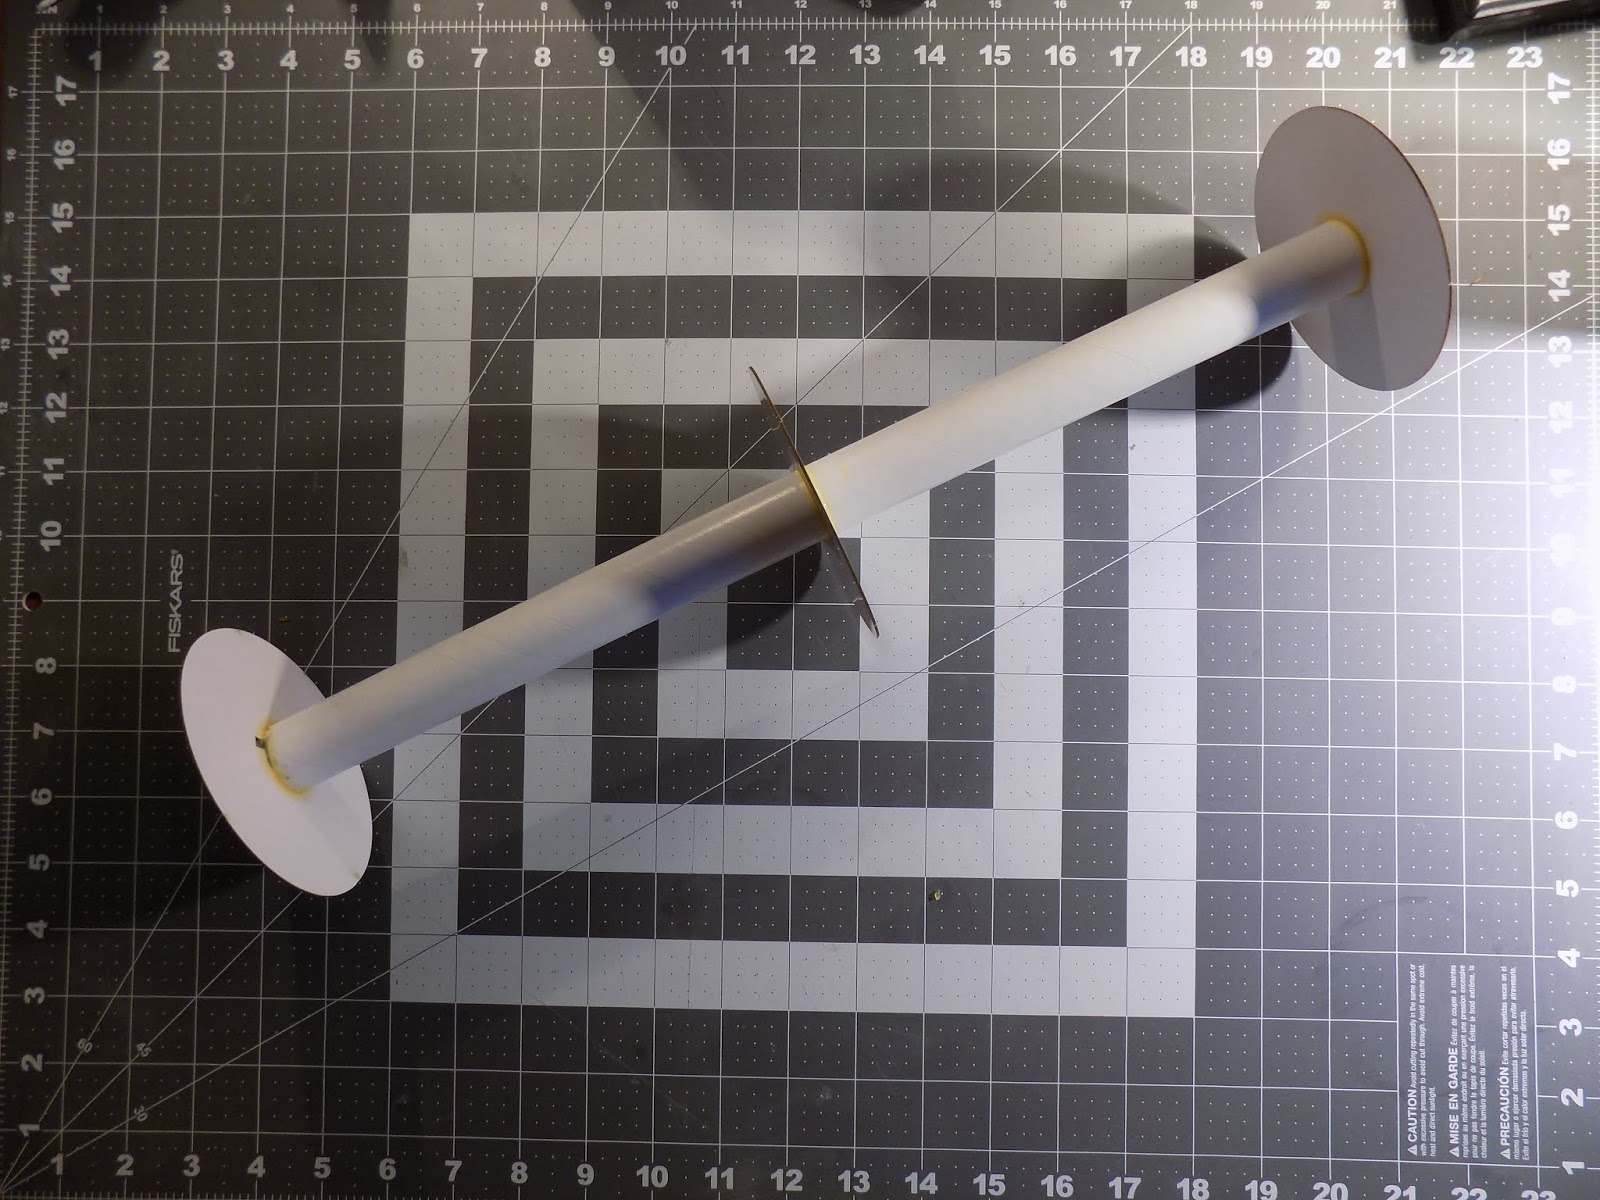
You can see in the above photo, the kit combo weighs in at 8.7 grams, minus glue (which is negligible, if you use white or yellow wood glue).
The screw-on motor retainer weighs in at about 1 gram less than the kit parts, not counting the epoxy. Epoxy is a bit heavy, but I'd keep it to a minimum here. Also, while the kit retention system weighs more than the retainer, the retainer's mass is all concentrated at the very
end of the motor tube, so the weight distribution won't be the same. But, at the very least, it didn't look like I'd be adding significant weight to the back end just yet.
The smooth inside of the motor retainer got sanded to roughen it up a bit, then glued on with a thin layer of JB Weld steel-reinforced epoxy. Any epoxy that goes where you don't want it (like inside the end of the tube or on the threads of the retainer - or on your cutting mat) can be cleaned up with rubbing alcohol while the epoxy is still liquid. Just use a cotton ball or swab and a bit of alcohol, and wipe off the excess.
After epoxying on the motor retainer, I moved on to gluing the centering rings onto the motor tube, and to aid in this task, I used an unusual tool - the Estes Tube Cutting Guides.
These plastic rings are intended to help you cut a tube in two pieces, and to make a straight, clean cut. The guides come in a set of several sizes corresponding to standard Estes body tube diameters. Each one is made of two pieces. They come together and clamp firmly to a body tube, and you can then run around them with a hobby knife to make a clean cut with a factory edge.
I recently saw an experienced rocketeer online describe the Estes Tube Cutting Guides as "a waste of money." While I respect that rocketeer's level of experience, I'm afraid I have to disagree.
First of all, they're cheap. Depending on where you buy them, they cost between 8-12 dollars - hardly throwing your money away. Secondly, a tool is only a waste of money if you don't use it. And while it's certainly possible to get a clean cut of a body tube by hand, simply by wrapping a piece of paper around the tube and using that as a guide for your hobby knife, you do need a steady hand. If you need a little help, these cutting guides are great. But they even have other uses you might find handy.
In fact, I don't even use Estes Tube Cutting Guides for cutting tubes that often (I have other tools for that). But I do use them for other things. And often, I'll use them as a pushing tool to get centering rings on perfectly perpendicular to the motor tube.
For the sake of clarity, let's call one end of the motor tube the
top, and one end the
bottom. First, mark the tube where the centering rings are supposed to go, according to kit instructions (or your own design). We're going to start from
top to
bottom.
Slide the tube cutting guide onto the motor tube below the
top centering ring mark. Don't clamp the guide down too tightly - it needs to slide on the tube.
Then place the centering ring on the tube, also below the
top mark. Give some space between the centering ring and the mark on the tube. Then apply a bead of glue just
below the top mark. Use the Tube Cutting Guide to push the centering ring up to your mark, thus creating a thick fillet of glue. With a fingertip, smooth the fillet and wipe away the excess glue (it will dry more quickly that way!).
After a few minutes, the glue will have grabbed hold of the centering ring, and you can remove the cutting guide before the glue dries completely. Even if it does dry, white and yellow glue don't adhere to plastic too well, and you should be able to remove the guide without too much effort.
Work from one end to the other, making sure you don't accidentally trap the guide between two centering rings!
As a result, you should end up with a motor mount with perfectly straight rings.
Of course, this doesn't work if you have a motor hook in the way, but for larger projects like this, it's a handy trick. It can even be used on some high power rockets - the BT-60 sized Estes Tube Cutting Guide fits a 38mm high power motor tube almost perfectly, since the outer diameters of the tubes are nearly identical.
 |
| Assembling the motor mount for a prototype of the AeroTech Monstra |
 |
| I first tacked the centering rings on with wood glue, then made epoxy fillets |
 |
| Perfectly aligned! |
Adding Strength
Here's a step I'm not sure I needed to do, and in fact, might not have been a great idea, but I did it and there we are.
Since I may use more powerful motors than the two recommended by Estes, I thought it might be a good idea to add a bit of strength to the motor mount. There's a lot of distance between the motor tube and the edges of the centering rings, and it seemed to me that there was a lot of room for bending and failure because of that.
So I decided to cut some braces, or gussets, and install them for strength between the centering rings. I considered balsa, but I had some scrap corrugated cardboard lying around, and was able to quickly measure and cut it to the correct length.
I glued two in place, and that's when I started to wonder if this was perhaps not the best idea. I thought the gussets would be pretty light, but just installing the first two added some weight I could feel. Not much, maybe, but it really adds up in model rocketry. One thing I hadn't noticed until I got the first two gussets on was that the cardboard had a lot of packing tape on it, which added some mass.
But I started, so I decided to finish. It would have been stronger to have a set of three or four braces radiating out from the motor tube between each pair of centering rings. But that would have added a
lot of weight, I worried. So I only did two, and I staggered them, in the hopes that they'd provide extra strength.
This might have been flawed thinking. I might have done better to have the braces go end to end. Or to make more of them, but keep them narrower, just bracing either the base of the centering rings, or the very edges.
Did I go to far? Should I have simply used the hook and engine block, flown the Saturn V on the recommended motors, and left well enough alone?
Well, it was too late at this point. The beefing up had already begun, so I'll just have to keep an eye on that center of gravity as I go, and try some fun motors. Worst case scenario, I'd end up building my second Saturn V sooner than I thought.
In the next post in this series, I'll install the motor mount.
Follow me on Twitter.
Like my Facebook page for blog updates and extra stuff.
Have a question you'd like to see addressed on this blog? Email me at iamtherocketn00b@gmail.com.