Sunday, September 18, 2016

Removing Sandpaper From an Aluminum Sanding Block


A few weeks ago, on Twitter, I was asked:


"@rocketn00b Can you tell me which spray adhesive you use to stick sandpaper to your aluminum sanding block so it isn't permanently stuck?"

Mark is referring to one of my favorite tools, the Great Planes Easy Touch hand sander. I first found out about this on Chris Michielssen's excellent Model Rocket Building blog, and it's a terrific sander. If you don't have one, I highly recommend it. I have two, so I can easily switch between coarser and finer grits of sandpaper.

The Great Planes sander comes with a few sheets of self-adhesive sandpaper, and you can buy more from them, but only in coarser grits. If you want to use a finer grit (say, 320 or 400), you have a few options. The first is to cut regular sandpaper to size and apply it with spray adhesive.

The other is to buy self-adhesive rolls. A great resource for this is Klingspoor's Woodworking Shop.

The adhesive on this sandpaper is really strong, and after reading a recent post on Model Rocket Building, I realized I wasn't alone in having trouble getting old sandpaper off the block.

But I recently figured out the trick, so I thought I'd share it here.

First of all, to answer the Twitter question, any spray adhesive will probably do. Most of them loosen their grip in water, so soaking the sander for a few minutes should do it.


Simply soak and peel.

But with the Klingspoor paper, that doesn't quite work. This stuff holds really strong. You may try to peel with your fingernails, and end up using some kind of putty knife or scraper, but still the paper tears, leaving lots of sandpaper and adhesive behind which takes a lot of work to remove.

But you can cleanly remove stuck on sandpaper from an aluminum block with little effort using warm, running water.


Start by running a stream of warm water directly onto the edge of one corner of the sander.


After a few moments, that corner will loosen up and you will be able to carefully peel it away from the sanding block.


Allow the warm water to continually flow right onto the seam between the sandpaper and the sanding block. With a firm grip, slowly peel the sandpaper from the block.


You may find that the sanding block is now completely clean. More than likely, however, there will be a few small spots of adhesive still stuck to the block. An adhesive remover will take care of that. Goo Gone will work well. I personally like using Ronsonol Lighter Fluid. It breaks down adhesives but doesn't leave a lot of greasy residue.


Just apply a layer of the lighter fluid to the sanding block and allow it to soak in briefly.


The remaining adhesive will wipe cleanly off the sanding block with a cotton ball or swab.


Rinse the sanding block and dry with a paper towel. It should be clean and ready for more sandpaper.


Follow me on Twitter.

Like my Facebook page for blog updates and extra stuff.

Level 1 Certification - Rocket Prep


I did it! I got my Level 1 high power rocketry certification! This means that I can now purchase and fly H and I impulse rocket motors!

Yesterday's 14th Annual FlisKits Anniversary Launch in Berwick, Maine, was incredible. The field is huge and flat, and despite the breeze, most people got all their rockets back.

I took a total of 10 rockets with me, but only flew three. Those three flights, however, were spectacular. I flew the Estes Nike Smoke and the Ventris on Estes G40 composite motors.


But my first flight of the day was the certification flight, which I did with the Estes Leviathan. I decided to do that one first, so I could get over my nerves and just have fun the rest of the day.

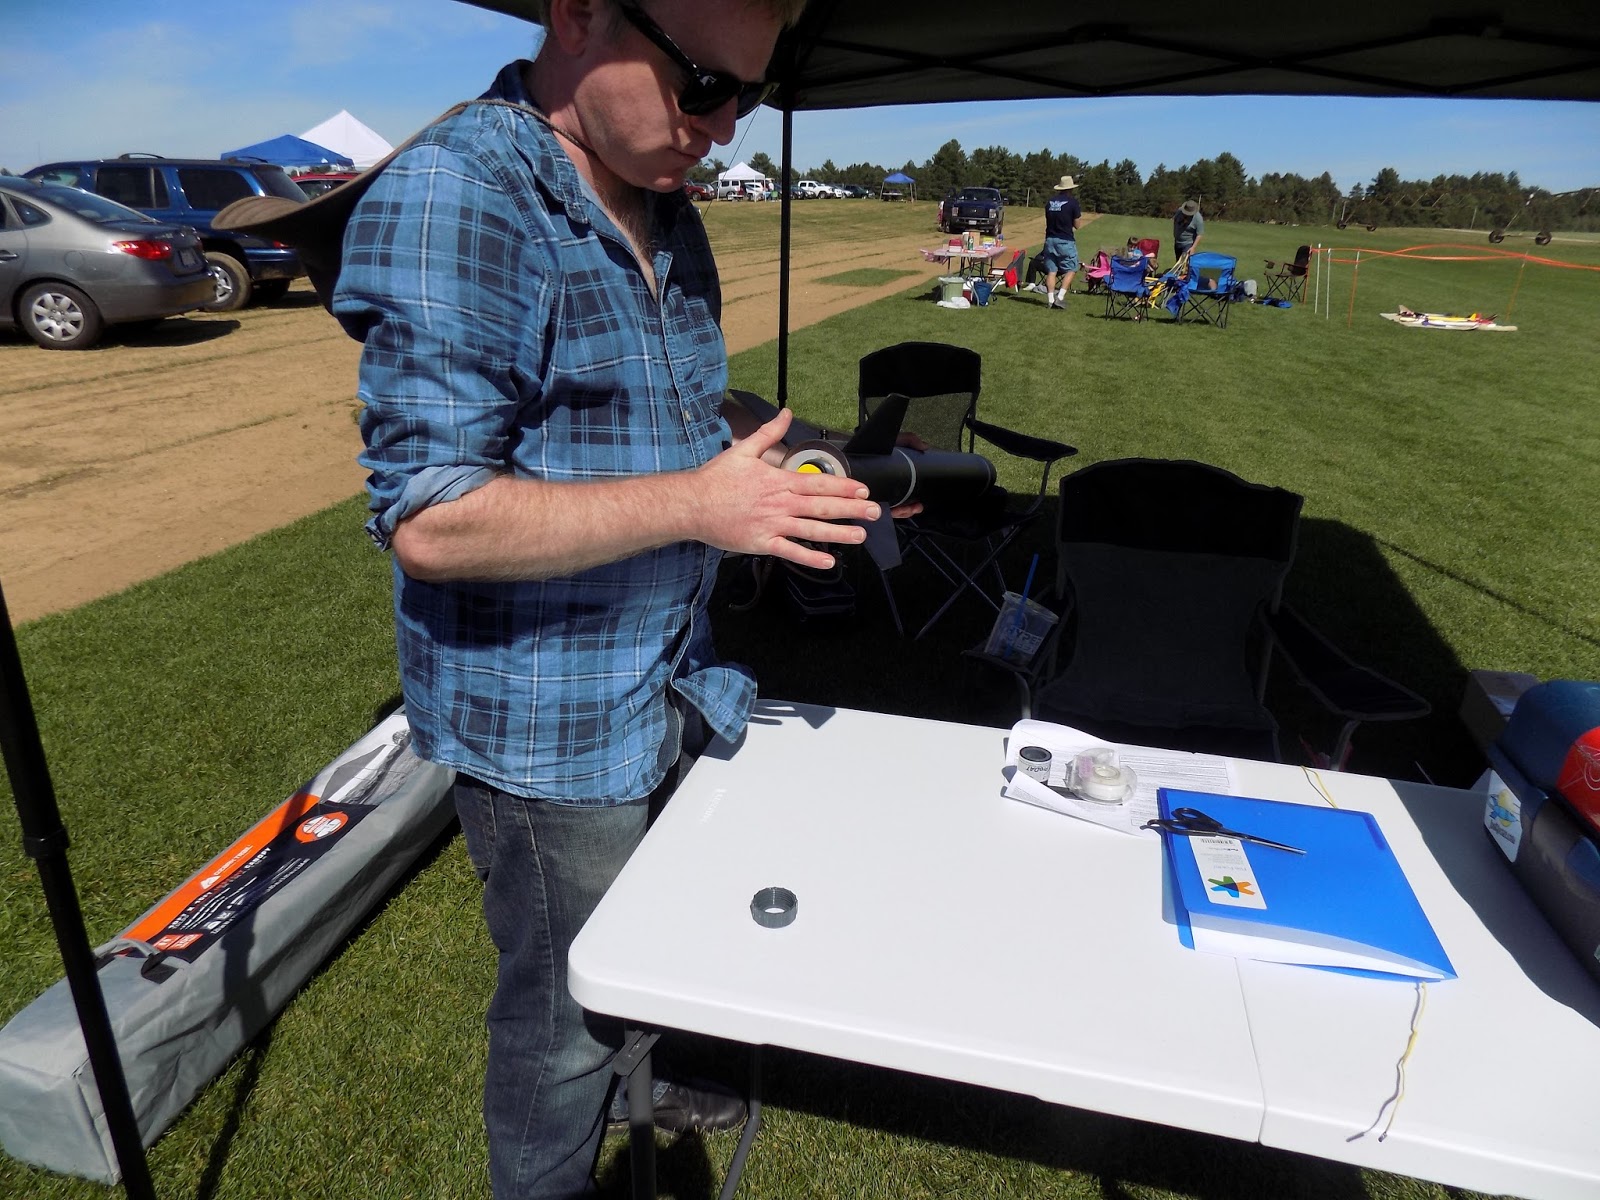
I'm still waiting for some pictures, and need to edit video, but here are the photos of the preparation I did for flight.

The motor I used was a Cesaroni H133 composite reload. The motor comes with a 14-second delay.

The H133 burns for about 1.2 seconds. Its average thrust is 133 newtons, but its peak thrust is around 200 newtons.
Cesaroni reloads are really easy to assemble, but you should always
read the instructions. They come wrapped around the motor.


Siting on the folder is the delay grain. Next to the folder is a delay drilling tool. 14 seconds is too long a delay for this flight. I need about 9 seconds' delay between motor burnout and ejection of the recovery system.

I set the delay drilling tool to remove 5 seconds from the delay grain. I then put the tool against
the delay grain and twist and twist, drilling out material until the tool won't go any further.


I've removed just enough material from the center of the delay grain to make it burn for only 9 seconds.

After returning the delay grain to the motor liner, I insert the whole reload - delay grain first - into the aluminum casing.

Closing up the motor with the aft closure

Uncoiling the igniter wire


Next, I insert the motor into the rocket and screw on the Quick Release motor retainer.


Then I tape the igniter to the rocket so I won't lose it on the way to the launch pad.

With high power motors, you're not supposed to insert the igniter until the rocket is on the pad.

I pull off the nose cone and unpack the recovery system, so that I can re-pack it properly.


Folding the parachute on the table proved an impossible task in the wind, so I moved to the ground for this step.


After folding the chute, I attached the Jolly Logic Chute Release. My simulations told me the rocket would fly between 2010 and 2090 feet high. I don't want the chute to open at apogee, or I might have a long walk to recover the rocket.

I set the Chute Release to open at 400 feet.

Finally, I re-pack the recovery system.


Although I've packed a little cellulose insulation into the rocket as wadding - rocketeers commonly refer to this as "dog barf" - I use added protection for the parachute and Jolly Logic Chute Release. This is a flame-retardant Nomex parachute protector. I wrap the chute and Chute Release in what rocketeers refer to as a "burrito."

It's not the most neatly-folded burrito, but it will do the trick. Some rocketeers rely solely on a Nomex sheet. While it does work, Nomex can burn through after a few flights. A combination of Nomex and cellulose "dog barf" wadding increases chances of a successful recovery.


I used a dowel to push the recovery system down into the rocket so I could get the nose cone all the way on.


Waiting in line for the safety check-in, with my filled-out flight card,
Level 1 certification application, and Ron, one of my flight witnesses.

The Leviathan is a nice, big kit. I'm pretty proud of how it turned out!

It looks great on the pad!

Ready and awaiting countdown and launch!

 Video and photos of launch and recovery coming soon!

Follow me on Twitter.

Like my Facebook page for blog updates and extra stuff.

Thursday, September 15, 2016

Micropost: PSII Ready To Go


Due to drought, the fire marshal in Amesbury has said we cannot launch there. Too much dry grass.

Good news is, the FlisKits Anniversary launch has been moved up to Berwick, Maine, thanks to the Maine Missile Math and Science Club. They have a much larger field, much larger recovery area, and a 10,000 foot ceiling for HPR. That's twice as high as our permitted flight ceiling. They also launch on motors up to M impulse, which means I may see some mind-blowing stuff this weekend. I've wanted to get up there for a year now.

I finally finished Ventris.


This rocket is tall and beautiful, and I can't stop staring at it.

All three of the Estes Pro Series II rockets I wanted to finish are done. I'll be doing a level 1 HPR certification attempt with the Leviathan.

Follow me on Twitter.

Like my Facebook page for blog updates and extra stuff.

Wednesday, September 14, 2016

Micropost: A Surprise from Dog House Rocketry

I got a nice surprise in the mail this week from Bill at Dog House Rocketry, LLC.


Now, some of you more advanced rocketeers might already know what these are for. But, for everybody else, I'll elaborate after this weekend's big launch.

Let's just say, I'm really excited about these. Thanks, Bill!

Follow me on Twitter.

Like my Facebook page for blog updates and extra stuff.

Tuesday, September 13, 2016

Micropost: Chute or Streamer - Decisions


Sometimes it's hard to decide whether to use a parachute or a streamer for recovery. A chute will bring the rocket down nice and softly, but more slowly. In that time, the wind may cause the rocket to drift, increasing the likelihood of losing the rocket in a tree or over the hills and far away.

A streamer brings the rocket down more quickly, so there's less drift. But a harder landing may cause more damage to the rocket.

Above is my sim of the Estes Goblin, a rocket I've built but never flown. The kit came with two streamers. But I built the rocket a little on the heavy side (so it may fall more quickly than Estes had planned when designing the kit), and it came out quite beautiful.


On the one hand, I don't want to lose it. On the other, I don't want to damage the lovely paint. And since the rocket may top 1200 feet, I have some thinking to do here.

I may compromise and go with a tiny six-inch Mylar chute, which should split the difference in descent times. It will also sparkle in the sun, which may help me spot the rocket in the sky as it descends.

Follow me on Twitter.

Like my Facebook page for blog updates and extra stuff.