Showing posts with label model rocket. Show all posts

Sunday, November 28, 2021

The Estes Super Big Bertha - Time to Get Back to Business


Recently I realized that I haven't built a new rocket start to finish in well over a year, partly due to this funk I've been in. It's been a hard couple of years. I put the finishing touches on my Estes Mercury Redstone, yes, and slapped together a quick model from spare parts of other rockets, but I haven't started and finished a new model in way too long.


It's time to remedy that. I grabbed the Estes Super Big Bertha off the build pile and started it during my week's vacation from work.

I like the built up fins. I've done multi-ply fins on some scratch builds I've made, and they can make for very strong fins. I don't plan on beefing up anything with plywood on this one. I want to keep it light and be able to fly it on F15 black powder motors. I bet I could even get away with a D12 in this and keep the altitude really low on small fields if I watch the weight. If I want to use something thrustier, maybe I'll make a second one with plywood centering rings.

Surprisingly, this will also be my first BT-80 rocket! I have built other 2.6 inch rockets before, but they all used heavier tubing.


The fins on the Super Big Bertha are really great. 1/8 inch balsa cores and 1/16 inch balsa skins make fins which are about 1/4 inch thick when assembled. Take your time - this part can be tricky.


Instructions suggest CA (cyanoacrylate glue - Super Glue, basically) for this step. I use CA sometimes, but avoid it when I can. And in this case, I think laminating them with wood glue might make for a stronger fin. Not that it's critical - they're not likely to brake. But the wood glue, if properly applied, should soak in and make the fins one solid piece.


I spread the glue on the spars of the core, evenly and thin, then press the skins on. After holding them tight for a minute or so, I press them between waxed paper and heavy, flat books. Only one skin at a time - you want to make sure they don't slide around when you're placing them under the press! After 20-30 minutes of dry time, I flip them over and do the other skin. Then I leave them under the books for AT LEAST a day for them to dry thoroughly. Any residual moisture can still cause the fins to warp after you take them out from under the heavy weight.


The edges may not all line up perfectly when you do this - ideally, the outer skin will be slightly larger. You'll then sand everything even. Just make sure the root edges are even - that would be the hard part to fix.

Don't throw out the sheets the fins are cut from - lots of good scrap balsa there for other projects!


I really like these fins - they're solid!


I post a lot of things on Instagram these days. Follow me here.


Like my Facebook page for blog updates and extra stuff.

Have a question you'd like to see addressed on this blog? Email me at iamtherocketn00b@gmail.com.

Friday, September 12, 2014

Near Catastrophic Disaster

I just about had a heart attack! I had just finished painting the second ring stripe around the body tube of my Cosmic Explorer, and was moving my painting rig, when suddenly it broke, and the rocket - with fresh paint on it - took a tumble. "Oh, no, no, NO, NO, NO!!!" I screamed, and made a grab for it.

The paint did not touch anything, and the end of the tube did not get damaged (I don't currently have the nose on it since I'm painting).

The ring stripe looks great. Update and pictures later.

Thursday, September 11, 2014

Tight Launch Schedule!

We have a launch scheduled for Saturday at 6 p.m. - looks like the weather is going to be perfect. In the low 60's, not too humid, only a few clouds in the sky. Should make for a good launch.

When I say "we," I mean Chad and I, and the other friends we drag along to watch us launch rockets. We usually take a cooler of drinks and some snacks. This will be our first launch where we won't be sweating through our sun screen.

Problem is, it looks like I'm going to have trouble finishing my two new rockets. I've got the Estes Hi Flier painted, but I wanted to add a flat clear coat to it. A lot of sport models are pretty shiny, but since I've gone for a Blue Angels theme on this one, and it's a small rocket, I'd like it to have a flat finish - flat finishes tend to make the rocket look a little bigger. But the humidity today was at 80%, and tomorrow it looks like it will be about 75% - pleasant, but the clear coat I have calls for painting in no higher than 65% humidity. I don't want to go against this instruction, since I'm worried it might fog the clear coat, and ruin the look of the rocket - and I've been working on this one for over three weeks.


You can't tell from the lighting, but that's gloss paint, and it looks rather shiny - even though I haven't really perfected getting a super smooth finish on it.

I like this paint scheme, but now that I've got the rocket together, it does look a little plain. If I were to do it over, I might do one or two rings of gold around the body tube a half inch or so below the nose cone. On a sport model like this one and the Cosmic Explorer, details in paint as well as decals help to break up the monotony of a single color.

Here's a photo from my second build - the Estes Crossfire ISX, drying after the first base coat of red went on:


It's a pretty color, but see how boring the rocket would have looked if I'd left it all one color? This makes it look like a toy - the kind made by Santa's elves in one of those claymation Christmas specials - instead of a badass death machine.

The problem with my Cosmic Explorer is a different one. It comes with decals to apply thin red lines on the fins, around the body, and down the length of the body, in addition to a logo decal to be applied in the center. Instead of decals, for the stripes, I opted to mask off the body and use red paint. When you're as much of a n00b as I am, decals are tricky to get on straight, and I can remove and adjust masking tape until I'm satisfied I've got everything where I want it. Decals can also break easily - especially long, skinny ones. You can fix that, but I'm just not that skilled yet. Also, a line of paint is less likely to flake off.

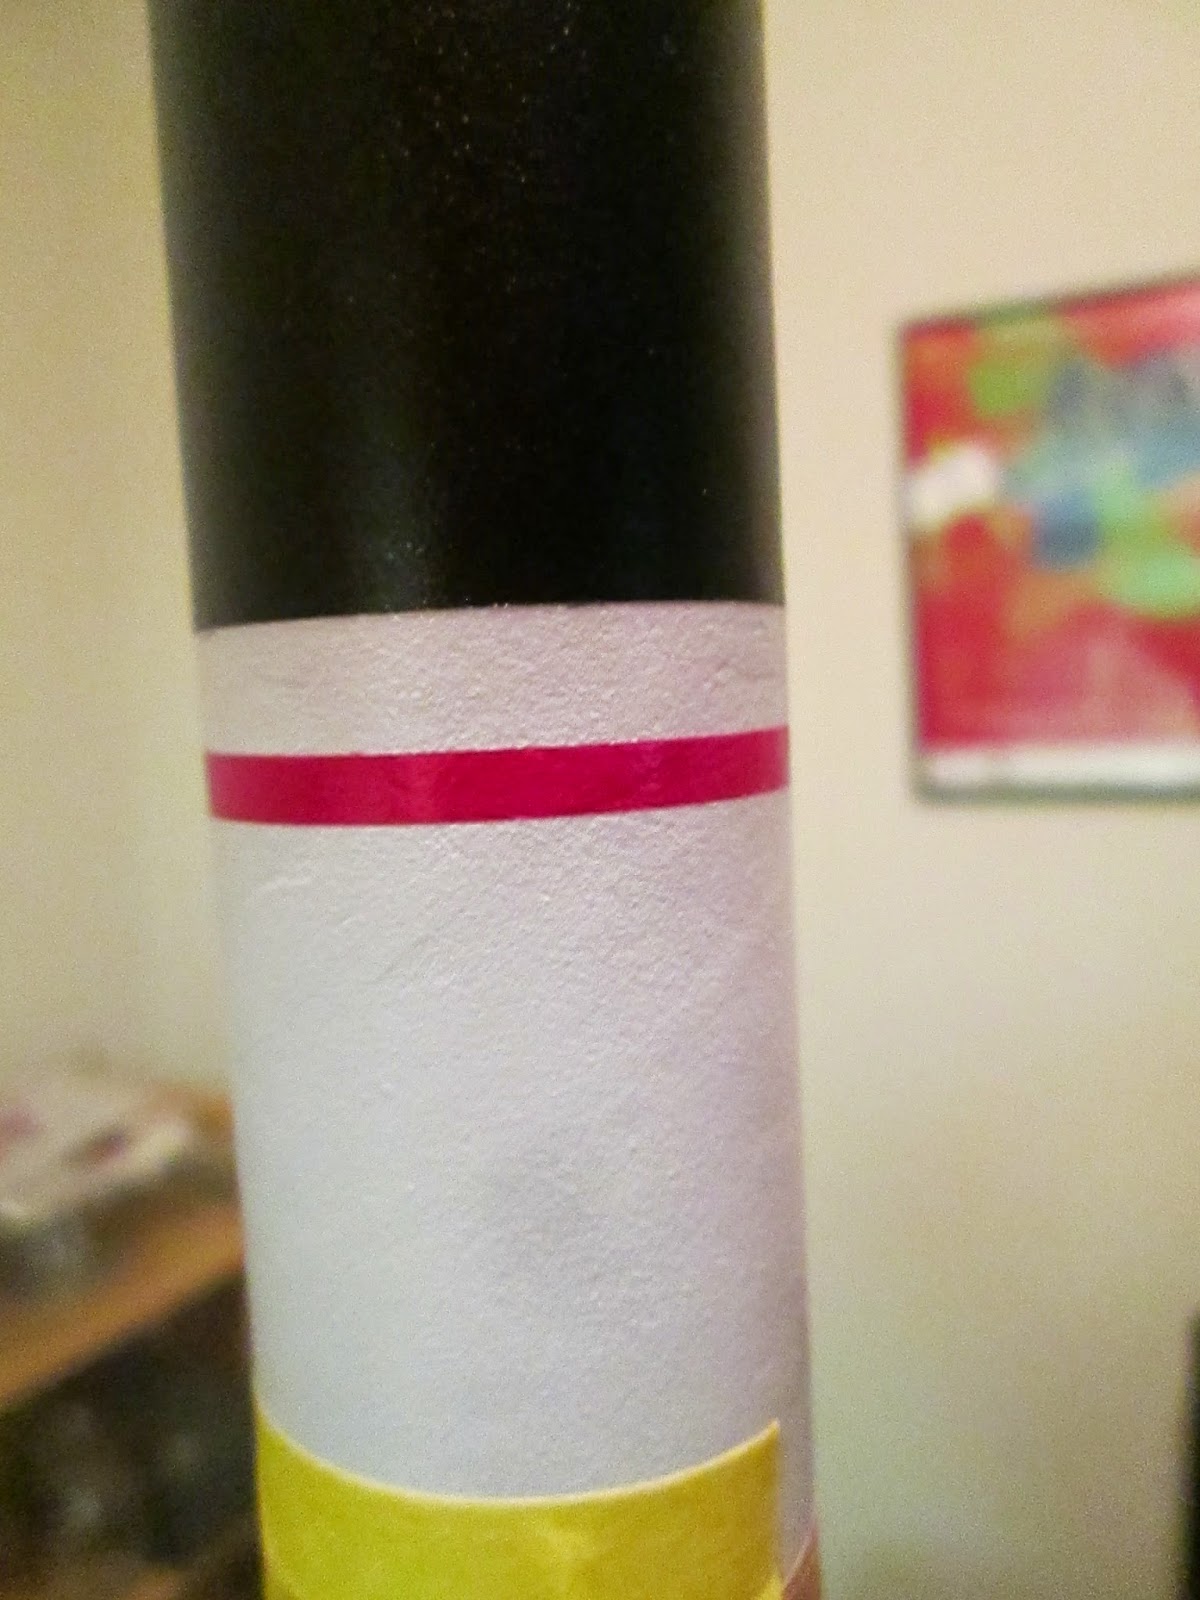
The Cosmic Explorer is supposed to have one red ring stripe around the tube halfway up, and one down either of two opposing sides. But I decided it might look even better with two ring stripes. I got the first one in place, and it looks pretty nice.

Lighting's not great - this is a much nicer
shade of red than shows here

But before I mask off the second stripe, I need to let this dry over night. I could, of course, just skip the second stripe, but I have already decided I want it - note my comment above about the details breaking up the monotony of a single color, and adding interest to the rocket's appearance. Once that is dry, I need to do the two stripes up the side - which will be its own challenge, since I'll have to do a long, narrow mask for a line 1/8 inch wide nearly 12 inches long, down the airframe and between two fins for each line.

Then I'll need to apply that compass logo sticker. And I have a few smudges on the body that I want to see if I can remove with a bit of light wet sanding before I do that. And then, I'd like to apply a gloss clear coat, to seal everything together and protect the decal.

I've thought of launching these rockets as-is, and (if they survive) finishing them afterwards. But I take pride in my craftsmanship (not that I'm a great craftsman, but I'm working on that), and I hate to present an unfinished rocket. And if I lose the rocket, then I won't get to finish it the way I want before it flies again. The Cosmic Explorer also has airfoiled fins - my first time really doing that - and might well chip upon landing after the first flight - a risk I was willing to take in order to make this rocket look and perform as well as it might, and to learn the skill of airfoiling fins.

Some people would perhaps say "What's the point of going through all that work if you might end up losing the rocket anyway?"

But, for me, the building process is part of the point. I'm not just throwing these together to get them into the sky. I enjoy the craft of making these look right. This is a craft, like any other, and as in any craft, while I do have an end product in mind, if I didn't enjoy the process of crafting the rocket, I'd just buy some ready-mades and launch them.

Chad has lost 16-18 rockets this summer - that's like $400 worth of rockets! I haven't lost one yet, but there's always a first time. We constantly joke at our launches about "hubris." I need to get him a t-shirt that says "#YOLO - You Only Launch Once."

Of the two rockets, the Hi Flier is closest to finish, so I'll almost certainly launch that one on Saturday. But I'm going to try my hardest to finish this Cosmic Explorer without cutting corners. I really want to see this rocket go up. I've been working on it one for even longer than the Hi Flier! And I really want something new to launch - all my others have already gone up multiple times.

It's been weeks since I've launched. I can't wait for Saturday!

Wednesday, September 10, 2014

Cool New Equipment

I built the guillotine fin jig today, which was very easy, and I can't wait to use it on my next build.

Easy and quick to build, and well worth the money,
if you're serious about crafting nice rockets

I tried wet sanding the paint dams (marks left from masking tape) on my Hi Flier, with 2000 grit paper - that's pretty fine. But, while it didn't really remove the dams, it did remove a touch of the blue color, and at the edge of the dams you could see a bit of gold peaking through (I'll post all the pictures later). I thought enough of this wet sanding nonsense - it's not working for me! and did a quick mask of the gold parts on one side, and retouched the rocket with blue in a few places. Fortunately, I hadn't done the whole rocket when I changed my mind.

I do wish I could get less texture on my rockets. I'm told that surface prep is the key, but even when I spray a really smooth surface - a perfectly primed and sanded plastic nose cone, for example, I still get some texture. You would only know close up, by looking closely or touching it. It's not the "orange peel" people talk about with bad spray paint jobs. It's just a bit of texture. I'm looking for smooth - perfectly smooth. Perhaps I'm doing a fine job with what I have, and I'm simply expecting too much from a can of spray paint. But I suspect I can do better. I just need to crack the secret.

I also masked off one of the fins and the whole body of my Cosmic Explorer so I could do the vertical fin roll stripe. It was pretty humid today - raining like crazy right now - but, I decided that for one 1/8 inch stripe, I could risk it and paint anyway. It turned out beautiful.


I also masked off the red ring about halfway up the rocket, just below where the black starts. I was going to paint this tonight, but it started raining pretty hard.

Anyway, I'll post more pictures of this rocket when I'm done documenting the whole build. But it's turning out really nicely.

Rocketry Thwarted By Rainy Day

Well, it's raining today, so I can't finish painting my rockets. And since I need to take the car in, I can't drive to the hardware store for things to finish a couple other rocketry projects I have. Bleh...

The one thing I can actually start today is assembling my guillotine fin jig. I'm excited about this thing, as it should assure that I get my fins on perfectly straight every time.


But, man, I'm so close to finishing these rockets, and since it's been three weeks since I started them, I'd like to put them to bed.

Here's a list of rocketry projects I'm either working on, or planning:
  • Assemble the guillotine fin jig
  • Construct a camera tripod mounting system to use as a launch pad
  • Build my own launch controller
  • Finish painting and stickering my two rockets
  • Build a cradle to hold rockets in construction
  • Build individual crates to store and carry individual rockets (I've already roughly designed these)
  • Build my Estes Big Bertha, 3D Rocketry Nautilus II, Quest Magnum Sport Loader (my first cluster rocket, with two motors firing at once) rockets
  • Find out what the hell happened to my Red River Rocketry Blue Shift rocket (the USPS tracking claims it was delivered to my door, yet I do not have it in my hot little hands)
  • Find the perfect tool box to use as a range kit (all the stuff you want to take to the launch site - motors, wadding, pliers, bits of sand paper, etc.)
Some people enjoy lists, so there you go.

Tuesday, September 9, 2014

Rocket Build - Estes Crossfire ISX

I've been building rockets for about two months now. Unfortunately, I did not document my first build - Estes' Der Red Max.

 
I hadn't realized how obsessed I'd get with building rockets. But with my second build, I started photographing most of what I was doing. Here's my second build - Estes' Crossfire ISX. Notice I did a different paint job than the standard - to differentiate from Chad's Crossfire.

Here, you'll see my first mistakes - which I learned from, and happily did not repeat on my second build.

Enjoy the obsessiveness!

Oh, Noes!

My brakes went out when I was leaving for work this morning. I recently got my car worked on after letting it sit for about ten months, and it was so nice to be able to drive places again.

The reason I mention this here is that one of the first things I thought was Dammit! I was going to go launch rockets today!

My first couple of rocket launches with Chad were back when I was walking everywhere.  I live on the east side of Bloomington, and we launch in a huge park on the west side. Maybe it seems silly, but once I had my car back, the most satisfying part was that I could drive myself to launches, and to the huge hardware store and Michael's Crafts across town to buy building supplies.

And the weather has been so great this week! Today would have been my first time launching in weather that wasn't sweltering and humid.

I hate hot weather, especially humid weather. September and October are the perfect months for me in the Midwest. This indicates how awesome launching rockets is - I'm willing to slather on sunscreen and stand out in humid, 90-degree weather just to watch them go up.

I've gotten used to walking everywhere over the last year - I didn't even mind the polar vortex, because I bundled up tight, popped in the earbuds, and listened to podcasts during the 40-minute, 4:30 a.m. walk to work five days a week.

But this... This is a bummer.

I'm nearly finished painting and building my two most recent rockets - the Estes Cosmic Explorer and Estes Hi Flier.

Cosmic Explorer - a sleek-looking rocket that stands two feet tall


Hi Flier - 12 inch rocket which goes up to 1,500 feet

I just need to do some sanding on the paint job of the Hi Flier to knock down some tape dams - raised areas of paint caused by masking tape - and do topcoats and decals for the Cosmic Explorer, and I'm done. I've been working on these rockets for three weeks now, carefully trying to get details right, fill wood grain properly, and fixing a few things I messed up. I'm still working on the details of making a rocket look as good as it can.

But this workday - and the walk home - were so long, I might have to lie down before doing any sanding or painting. I want to get right to work on these, but I think I get sloppy when I'm too tired. I'm working on being patient to get the best results.

Just a couple previews:

I've opted for my own color scheme for the Hi Flier - blue and gold. Chad has one in the traditional color scheme (actually, had. He lost that one.), and as I've said before, when he already has a rocket, if I get the same one, I like to make mine look different. I thought of the Blue Angels when I was coming up with ideas:


But I'll probably skip the sticker. I am not a huge fan of self-adhesive stickers, and I usually get them on crooked, and there they stay.

And I've managed to put a pretty decent airfoil on the fins of the Cosmic Explorer:

This would have been easier to see if I'd taken a closeup later, after priming
the rocket. I'll post pictures of the whole thing when I'm done.
OK. Time to nap, sand, and paint...

Sunday, September 7, 2014

Finally, Good Painting Weather!

It really feels like September now! It would be great launching weather, but the field where I fly is swarming with soccer kids this weekend. But it's a great day for painting!

The last couple weeks, it's been humid or rainy in central Indiana, so I've had to wait. And I've been working on two simple rockets for about three weeks or more (these are only Skill Level 1 rockets, but I've been trying to take my time and get the details the way I want them), and I'd like to put these guys to bed.

I did another primer layer on my Estes Cosmic Explorer and noticed some of the carpenter's wood filler (CWF) in the body tube spirals hadn't been all sanded off, but since I've had problems over-sanding and scuffing up the body of the rocket, I decided that was OK for now.

And I started the top coats of paint on my Estes Hi Flier - which I am not doing in the standard colors on the package. I've opted for blue and gold, a kind of Blue Angels theme. Chad already has one of these anyway, and when we both have the same rocket, I like to make mine look different from his.

I created a new page on the basics of how model rockets work so I can freely write posts in this blog without feeling I need to explain everything. You can find it in the side bar, or just click here.

Wednesday, September 3, 2014

Since I started this blog, I've been either too tired from work, or too busy working on or reading about rockets to actually post anything. And I've gone from knowing nothing and having done nothing to acquiring a lot of new knowledge and having done a lot of stuff, and it kind of reminds me of when I've written in journals every day for weeks, and then stopped. Then a lot of stuff happens. Then I think, Do I do a recap? For, like, posterity?

Well, I'll probably get to that. Since I don't know who, if anyone, will actually read this, and a lot of people I've told about my rocket obsession have a lot of questions - "How do they, like, work?" "Do you, like, throw them away after you launch them?" -  I'll probably start simply. Apologies to any advanced rocketeers (yes, that's what they're called) who stumble upon this blog in the early stages. I'll get more technical as I go on.

Anyway, since this is a rocket blog, I should probably start by showing you some rockets. These are the ones that I first bought. Just to kick things off.

My first few were ready-made rockets which required little or no assembly. The very first was part of what's called a "launch set." This includes a launch pad, a launch controller (a little electronic box with a couple of buttons on it you push to make the rocket launch), plus an easy-to-assemble rocket, all for less than the price of a pad and a controller you'd buy separately. I got this exact one as a kid, and never put it together.

I'm not wild about the rocket, partly because it included stickers. The kind you can't move once you've touched any part of it to the rocket. This is what messed up my toy Millennium Falcon when I was a kid. It's called the Silver Arrow:


I mean, the thing flies great. But it's mostly made of plastic, and I didn't get any of the stickers on straight. I even messed up the purple underneath by trying to adjust one:


Also, one of the fins fell off a few days ago.

Anyway, not to complain. It's a cheap kit I got for about 20 bucks and I've used the launch pad for much cooler rockets since.

Next, I found a bunch of premade rockets on clearance at a Michael's Crafts here in town. This was before I became obsessed with building my own. These are all Estes rockets. For years, Estes was one of maybe two or three model rocket companies, and they're still probably the best known. Today, if you're starting out, and Googling "model rocket," Estes is about all you'll encounter at first. But as I've discovered, there are a lot of great, non-Estes companies who also make rockets.

These are actually all great, and fly really well.


This is the EX-200. It's a tiny little thing, and when you load it, it's packed so tight, you think it might just explode. But it doesn't. It flies fast and straight, and pretty high, on a tiny little A motor. Cost me 4 bucks!

Motors, in large part, are labeled by letters. A is the least powerful, and they go up by each letter. This is n00b information. I'll elaborate later.


This is the Patriarch. 7 bucks. I love this thing. It flies really straight, and it's heavier, so you can really watch it ascend. Some of the lighter ones go really high, but in less than a second it's so high you can't see it any more.

I nearly lost this one on the first launch, because the shock cord (which holds the nose cone to the body of the rocket... if you don't know, I'll explain later) wasn't securely tied. So the body came crashing down (it was fine) and the nose cone drifted across the fields on its parachute and was nearly lost, before being rescued by the 5-year-old (Cody), who was with us. Whew!


Estes Athena. Awesome rocket. Flies really high. This was either 4 or 7 dollars (I forget which). The bottom sticker comes off a bit - I need to tape that down one of these days.

I used this rocket for a little experiment I'll detail in a later post. Let's just say, it was a successful experiment I'm pretty proud of.


This is the rocket that gave me the bug for rocket building. It's a re-release of a classic Estes rocket called "Der Red Max." The design is based loosely on the look of the Red Baron's airplane, and the thing is freaking cool. Nice, thick airframe. Awesome decals. Black and red look. And the ascent is awe-inspiring. The kicker is the skull-and-crossbones parachute.

I saw this rocket on Amazon for about 16 or 18 bucks, and they only had one left at the time. I was worried about building my own, but it was too cool to pass up, so I bought it. I followed the instructions, and loved the process of gluing and priming and painting... I was terrified I'd get the fins on crooked - in fact, you have to look really close to see that one is slightly to the fore of the others, but it doesn't interfere with a great flight - and I was terrified of the decals. But I did some research, took my time, and it came out great. This is my baby.

Here are some more views of the decals.


As you can see, I did get a little chip in the paint job from a hard landing after the parachute melted to itself:


After building this one, I started researching how to get a better finish. Up close, this rocket has a lot of texture you might not want. And you can see the wood grain in the fins. I found out that you can fill that in with a few techniques. My second build was Estes Crossfire ISX. I built this one because Chad had one, and it was the first rocket I'd launched. We lost his first one after the second launch, and Chad got a new one.

The crossfire is supposed to look like this:


It's the color scheme Chad went with. I wanted mine to look different, and once I realized you can make a rocket look any way you want, I decided on my own paint job. (Besides, Chad's paint jobs are terrible. He rushes them, has no patience for "craftsmanship," and he uses paint brushes. Paint brushes, for crying out loud!!)

Mine looks like this:


I contacted Chris Michielssen of modelrocketbuilding.blogspot.com, a really gifted rocket builder, for advice on this nose cone color I had in mind. He had a tip or two, but said it would be pretty tricky. When I sent him my pictures, he posted them on his blog. I totally geeked out in nerdy pride over that one!

I also rounded the leading edges of the fins and moved the launch lug (I'll explain later, fellow n00bs) for greater aerodynamic performance, so that my rocket could defeat Chad's rocket in a competition. We finally did this on Sunday, and I think they were about equal. From where I was standing, mine appeared to go a bit higher. From where others were standing, his did. But we were all really too close to the launch pad to tell.

Here's a detail of that cool nose cone mask I did:


My most recent competed build was a cheap, impulse buy. An Ested Mini Honest John, which is a scale model of an early U.S. nuclear missile. I got it because it looked cute on the package, and was about 9 bucks. I considered this a practice rocket, since what I'm working on now is mostly my finishes:


These are all "Skill Level 1" (according to Estes) rockets, which means that they require the least amount of experience building model rockets.

I'm currently building two more rockets and have three I haven't started, plus one on the way in the mail. I'm just about to bump myself up a skill level, people!

Well, there you have it. Rockets.

I know this entry was pretty long, which is probably some kind of blogging crime, but I'm new to this. Just figured I should actually show some rockets on my new rocket blog.

Here's the whole (completed) fleet: