Wednesday, December 26, 2018

Stickershock Is Gone


Mark Stickershock23.com has closed shop permanently. It seems time has come for him to quit the business.

Mark did great work, producing high quality vinyl decals for all shapes, sizes, and styles of rockets big and small, and this is quite a loss for rocketeers.

This hobby is one with a few big players, and a lot of small family businesses. Nothing is permanent, and it's important to remember to appreciate the small vendors while they're around, because we may not always have access to that special thing they do.

Thanks for the great work, Mark. Take care of yourself.

Follow me on Twitter.

Like my Facebook page for blog updates and extra stuff.

Have a question you'd like to see addressed on this blog? Email me at iamtherocketn00b@gmail.com.

Sunday, December 23, 2018

Great Planes Hand Sanders Back On the Market!


Just a quick post to let you know that one of my favorite tools - the Great Planes Easy-Touch Hand Sander - now appears to be back on the market!

This simple but really well-designed sanding block is a must have for hobbyists, including model rocketeers. They're lightweight, easy to use, and comfortable to work with even when sanding for a long stretch of time. I have three of them, so that I can quickly switch between coarser and finer grits of sandpaper.


Because you adhere sandpaper directly to the face of the sander, the sanding surface remains perfectly flat while you work, something you can't quite achieve by wrapping a piece of sandpaper around a block. You can either use standard sandpaper shot with spray adhesive, or self-adhesive sandpaper strips which come in long rolls. I get mine from Klingspor.


Earlier today, the Great Planes website was down, and I worried the company had gone under. It was one of the casualties of the big Hobbico bankruptcy, which had some of us worried about the future of Estes.

While it ended up working out better for Estes than anybody could have imagined, Great Planes seems to have taken longer to recover. I don't know who owns them now, but I can say that I've been watching their stock of tools for a while, and the hand sanders were on "back order" on the Great Planes website for ages, and couldn't be found anywhere else.

But the Great Planes website is now back online, and the hand sanders are back up for order there, as well as on Amazon.

So, if you see one pop up on eBay for an inflated price, save your money. Order one directly from Great Planes or Amazon. Heck, order two or three. This is a great tool for rocketry. Very comfortable to use, and you'll use it on every build.

While you're at it, check out my post on how to apply and remove self-adhesive sandpaper to the hand sander without having to spend an hour peeling off sticky adhesive.


Follow me on Twitter.

Like my Facebook page for blog updates and extra stuff.

Have a question you'd like to see addressed on this blog? Email me at iamtherocketn00b@gmail.com.

Sunday, November 25, 2018

Build Series - The SBR Diablo - Part 1: Unboxing


Scott Binder of SBR sent me his latest high power rocket kit to check out: The Diablo. This is a simple, easy to build, short and fat (4 inches in diameter!) high power kit, as easy to build as a common model rocket - just bigger. Because it's a draggy rocket, it's good for small fields. With its light weight, it can fly on anything from an F motor all the way up to an I or maybe some J motors. And its small size makes it easy to transport to a launch even if you have a compact car.

I'm working on a video build series of this rocket to show how simple it is to put together. Here's the first installment, shot on my phone (sorry about the sound quality) - Unboxing:


Follow me on Twitter.

Like my Facebook page for blog updates and extra stuff.

Have a question you'd like to see addressed on this blog? Email me at iamtherocketn00b@gmail.com.

Thursday, November 15, 2018

Built from Scratch - A Tale of Two Berthas - Part 1


I recently finished building two Big Bertha rockets - from scratch, rather than from kits. As a guide, I used the original plans, published by Estes in Model Rocket News in 1963, when Bertha was a free plan, before it was sold as a kit (the Big Bertha is now the longest continually produced model rocket kit in history).

I meant to build just one scratch Bertha, but ended up building two of them, almost by accident. I do this a lot.

I started this project for a few reasons. My original Big Bertha kit was one of my earliest builds, detailed a few years ago on this blog. I mention the Bertha a lot here, not because it's always been my favorite model rocket (it hasn't), but because it's so iconic, and simple, and with its large parts, it makes a good demo rocket.


But last season, I flew my now beat up Bertha for my final flight of the fall on a C6-3 motor. Our Launch Control Officer, Kenn, commented "There's no better combination of rocket and motor, folks!" and I thought, you know what, he's right. That is a great rocket!

The Bertha is such a pleasure to see fly. I always brought it to a launch as a kind of afterthought, thinking I should take something that doesn't fly too high, just in case. But each time I flew it, it was just... fun! It goes up relatively high, but you can still keep your eye on it, and it floats gently back down on its 18 inch parachute, and... Well, I guess I just have a soft spot for the Bertha. So, I wanted another one.


That was reason 1. Reason 2 is that, while it does fly really well on C motors, I've always wanted to put a D12 in it, but I built the Bertha kit before I knew you could upgrade these things. The Berthas I've seen fly on D12-5 black powder motors are really fun. With its large fins, the Bertha is plenty stable, and can handle extra weight at the back. So, I decided to build a Bertha with a 24mm diameter motor mount, for those Estes D12 motors.

Reason number 3 is that I always wanted to build one of the plans from the old Estes Model Rocket News. Back in the 1960s, many of these early newsletters featured rockets either designed by Vern Estes himself, or by readers of the Model Rocket News, who'd send in their own designs, which used Estes stock parts. In those days, it was pretty common for model rocketeers to have a fleet which was at least in part built from scratch, rather than from kits.

I figured the Bertha would be a good place to start. No odd, out-of-production tube sizes or nose cones to buy. Just a BT-60 tube, some 1/8 inch fin stock, and a stubby elliptical nose cone. Speaking of which...

Reason 4: I had always wanted to try turning my own nose cone from a block of balsa.


 The plan was to see how hard this could be, using a hand drill as a kind of lathe. From what I'd read in both the Model Rocket News and the Handbook of Model Rocketry, this was supposedly not only doable, but not all that difficult. I wasn't sure that was true, but I wanted to try my hand at it.


It's been a while since I've done this kind of Rocket N00b stuff where I try to figure out how something is supposed to be done and then publish it here. I thought this would be a good place to start, and it would save me having to buy a cone. I wanted to keep this Bertha cheap, if I could.

Spoiler alert - it turned out pretty nice!
So, despite my promise to myself to finish building everything I'd been working on for a year and a half before starting any new rocket builds, I began working on the Bertha. Then I ended up making a second one. More on that when we get to it.

The next few posts will detail my scratch build of the two Berthas.

Click here for Part 2 - The Plans

Follow me on Twitter.

Like my Facebook page for blog updates and extra stuff.

Have a question you'd like to see addressed on this blog? Email me at iamtherocketn00b@gmail.com.

Thursday, August 30, 2018

Zero Ns in 2018


Hello, stranger. How've you been?

For the past few year over on The Rocketry Forum, there has been a thread each year where people can log the Newton-seconds they've burned flying rockets that year, called the Newton Tally Thread (here's this year's). I can never participate in this thread, because I always quickly lose track. I'm not one of those rocketeers who diligently record the details of every flight, though I should be.

This year, however, it's been easy. I have flown exactly 0.0 Ns to date in 2018. What with the birth of Little N00b and our current lack of a car, I haven't been able to attend any launches at all. And I'm really itching to get out there and fly.

Mrs. N00b and I have plans to get a decent vehicle, and we've got plans to go to at least one launch this year, even if we have to rent a car. The last annual FlisKits launch, run by CMASS, celebrating Jim Flis' 16 years in business, will be on September 15 in Amesbury, MA. It's going to be a big one.

The FlisKits launch was my first club flying experience three years ago. There's cake and food, and hundreds of flights in one day. If I only get to attend launch one this year, this has to be it.


So, I haven't flown anything, and if you follow this blog, you know that I haven't written much in the past few months, but that doesn't mean rocketry has completely been on the back burner for me. In addition to doing The Rocketry Show podcast, I've been building.

It's gone much more slowly for me recently, since I don't get as much time to myself. If Little N00b needs something, the rocket has to wait. But I've been chipping away at it, and have finished a number of builds I'd like to share.

A lot of my progress has already been posted on Instagram (you can follow me @rocketn00b), and some on Twitter, and a little bit on my Facebook page.

Since I don't always have the time lately to do little experiments or research a topic to write up something for this blog, I'm going to start a few build series. I've got a few rockets I'm pretty proud of - and some which I learned I should have done differently. I have a good backlog of photos, so there's plenty of potential material there.

Look for the first one soon.

Follow me on Twitter.

Like my Facebook page for blog updates and extra stuff.

Have a question you'd like to see addressed on this blog? Email me at iamtherocketn00b@gmail.com.

Sunday, June 17, 2018

Sheer Joy

Watch this:


Joe Barnard is right to have such a reaction to such a successful flight. Amazing, incredible, awesome work.

Follow me on Twitter.

Like my Facebook page for blog updates and extra stuff.

Have a question you'd like to see addressed on this blog? Email me at iamtherocketn00b@gmail.com.

Friday, June 15, 2018

Applying Self-Adhesive Decals - or - Sticking Stickers Where You Want them Stuck


Many model rocket kits come with decals to add visual interest to a model - and if it's a scale kit, to add some realism.

Decals come in two varieties: waterslide and self-adhesive or self-stick.

Many builders, myself included, prefer waterslide decals. You soak them in water for a minute or two, and they slide right off their backing. You slide them in place on the rocket, and if you've made sure to dab a little water on the model first, you can then slide the decals around until they're in just the right spot. Then you dab lightly with a paper towel or cotton ball to remove any excess water and air bubbles, and when the decals set, they're pretty much permanent.

Waterslide decals are a little tricky to get used to at first, but once you do, they're much lighter and thinner, and they look like they're actually a part of the model's paint, rather than something just stuck there afterwards.

Most significant, they are re-positionable if you do them right, so you don't have to get them in exactly the right spot straight off the backing. With a little water, you have time to work with them before they're stuck.

Self-stick decals are really just stickers, and many rocketeers hate them. They're not only thicker and heavier than waterslides, if you don't do them right, they're stuck, wherever you happen to touch them to the model. So if you don't get them on straight the first time, you may never get them straight. It can be very frustrating.

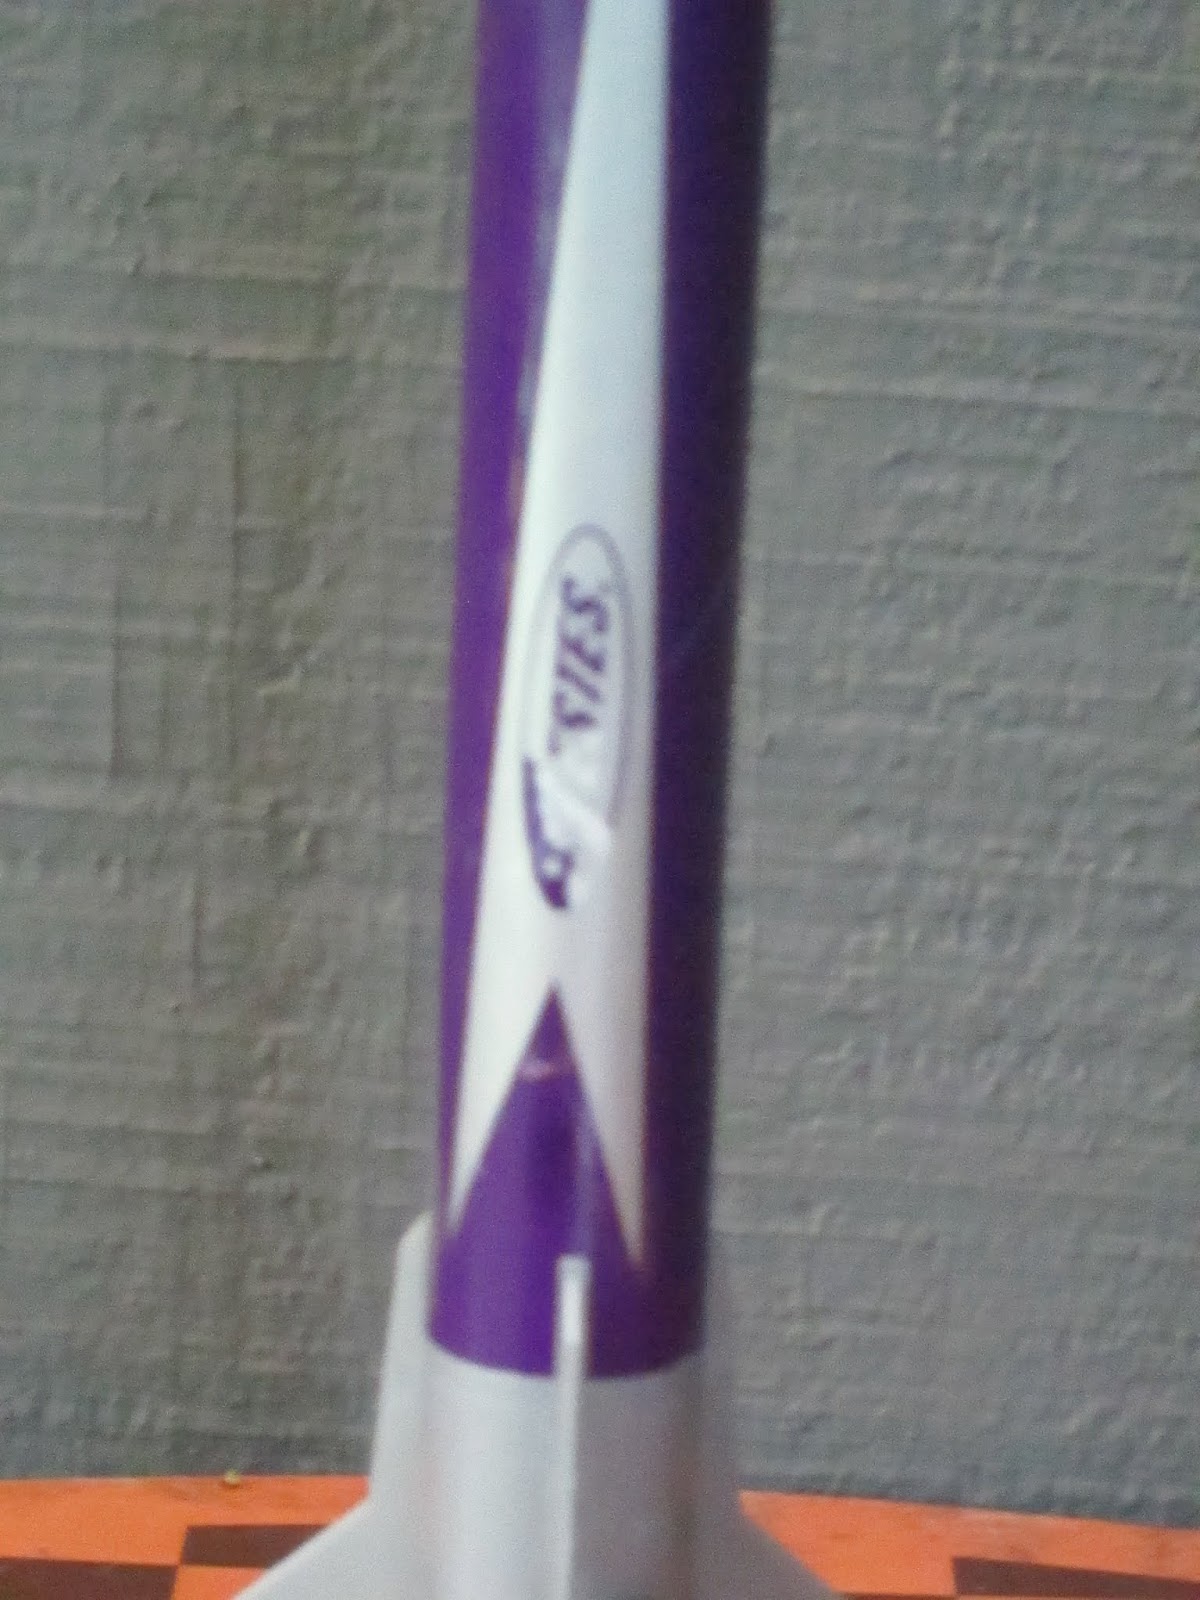
The Estes Silver Arrow - an easy to assemble kit, and my very first build.

I got the sticker on crooked, and tried to re-do it, but I just tore the darn thing.
My very first rocket - the Estes Silver Arrow, from the launch set I bought when I started out - had stickers. Man, I hated that rocket! I got the silver decal on crooked, then tried to straighten it out, only to have it rip itself and the body tube. It was so ugly! I was happy to give it away to the son of a friend of mine, who broke it a day later.

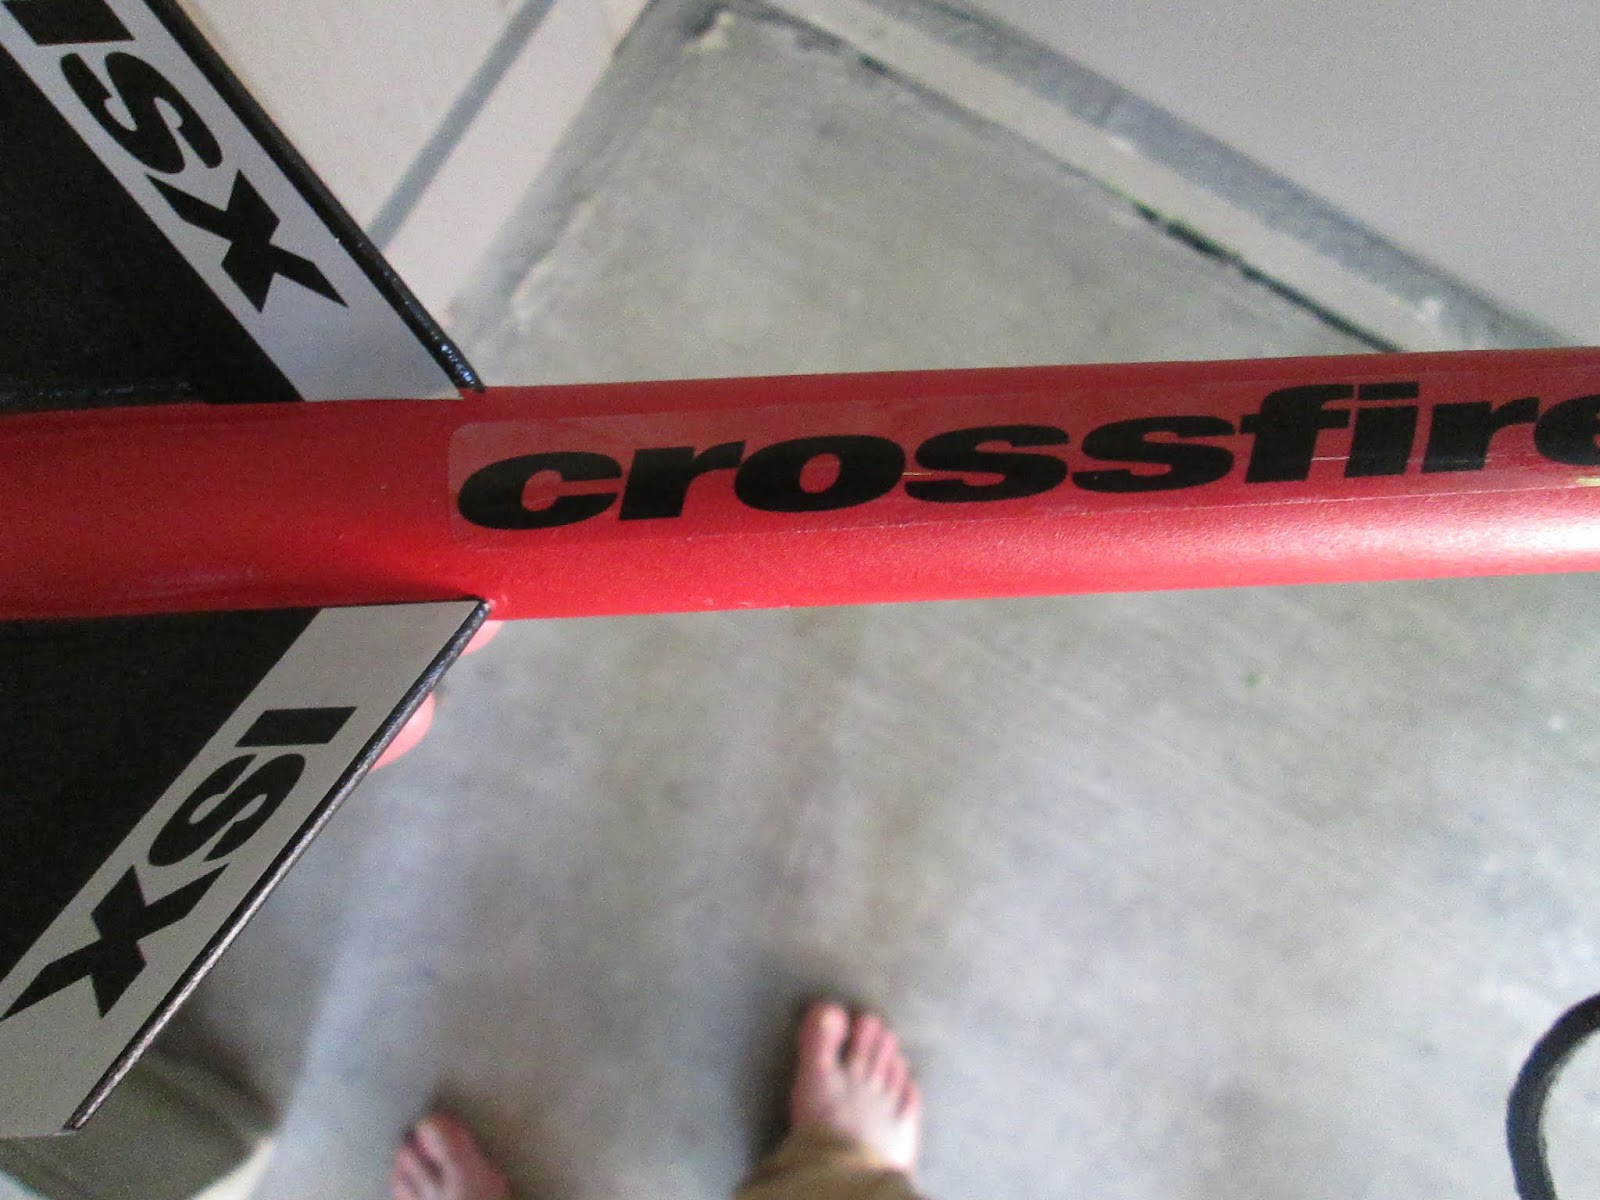
I had a bit better luck with my first Estes Crossfire ISX, a Skill Level 1 kit that also came with stickers. But I still wasn't happy. I had bubbles under the decals, raised edges, and if you look closely, you can see that things are crooked.


Some imperfectly placed self-stick decals, with overhangs, bubbles, etc. And my feet.

Not only that, I found the process of putting them on so stressful, as I was trying to be so careful not to mess up, that it took me a couple hours and I needed a break after each decal.

I hated self-adhesive decals so much that for a while, if a model came with them, I'd either not buy that model, or I would decide to do a completely different paint job.

But since then, I've learned the trick to doing it right. You can get those self-adhesive decals on your rockets where you want them to go the very first time, and if you mess up, you can take them off and re-position them. It's a lot less stressful than just trying to jab a sticker into the right place on your rocket.

There are three newer rockets in my current active fleet with self-stick decals, and despite my continued preference for waterslides, these three are among my nicest builds. They are:

The Quest Superbird...


...a newer Estes Crossfire ISX, which I modified, adding a drag-reducing tail cone...


(I really should post the build I did of that rocket, because I like how it turned out.)

...and the Estes U.S. Army Patriot, seen at the top of the post.

All of these might be challenging, and two of these have decal wraps, meaning the sticker goes all the way around the model - and is supposed to meet itself on the other side! That's tricky enough to apply if you aren't also worried the decal will be stuck once you place it on there.

My method is similar to the method used when applying vinyl decals - such as those sold by Stickershock23.com. With one or two little tweaks, the same method can be applied to self-adhesive decals.

OK, here's the method. You will need:
  • Your finished, painted rocket
  • Your decal sheets
  • A pair of scissors
  • Some masking tape
  • A spray bottle filled with a mixture of water and a few drops of dish soap

First, you will notice that the decals are printed on a plastic sheet with a backing on them. No surprise there - just like any stickers you have ever seen. You need just the stickers, not the extra plastic it's printed on. The first step is to remove all the surrounding sticker plastic while leaving the decal itself stuck to the backing. You may need to hold the decal down as you peel the excess off.


Above are the decals from the U.S. Army Patriot. I've removed the excess from the bottom one. You can see that all that's left is the decal itself - there's no extra black around it. This allows you to accurately scan the decal sheet, so that you can either make your own waterslide decals if you want, or clone the rocket and print your own decals at a later date, or share the decal scan with someone who needs it. It's also necessary for this method.

Next, cut the individual decals out with scissors - still leaving them on the backing.


Take your first decal and trim the backing as closely as you can to the printed decal, taking care not to cut into the sticker itself.


Now you will place the decal where you want it. You're not going to stick it on just yet, so again don't remove the backing.

If you're doing a wrap, make sure to wrap it nice and tight around the rocket, and make sure the two ends meet and that the wrap is nice and straight.


Then you will take a piece of the tape and carefully tape one edge of your self-stick decal in place. Again, the backing is still on the sticker at this point. That tape will act as a hinge, so that you can let go of the rocket and sticker, and it will stay in the same place.

(You can see the tape in place in the photo above - that's just because it's tough to take pictures while doing this, so I had to take that shot out of sequence, after I'd already secured the decal in place.)


Now that you've got your tape hinge in place, you can set the rocket down if you need to. The decal will go right back where you want it in a minute.


Get your spray bottle with the soap and water mixture ready and close at hand.


Now peel the backing off your decal, holding it away from the rocket. Spritz the decal and rocket with a light mist of the water and soap mixture.


Keeping the decal taught, carefully lay it down on the rocket, working from the tape end. You can squeeze out extra water and air bubbles with your fingers as you go.

If you are doing a wrap, make sure to remove the tape hinge before you get to the end of the decal. Peel the tape off in the opposite direction from which you're laying the decal - so that the tape doesn't pull the sticker off!

Oops - my feet are showing again!
Now you can press the decal the rest of the way down. If need be, squeegee the rest of the excess water and air bubbles out with fingers or a poster squeegee.

Sometimes I use a poster squeegee, seen here.

The decal should be perfectly in place, but if you've made a mistake, and the decal is crooked or the ends of your wrap don't match up, you can easily pull the decal back up, thanks to the soap and water!


Take your time getting the placement right before you put your tape hinge down, and you shouldn't have much of a problem.


This method will help you get your stickers on straight, where you want them, and eliminate bubbles.


It takes some care, but this method is much faster and easier to get the results you want than merely trying to get a sticker perfectly in place the first time. There's no way I would have made this rocket look this nice if I didn't use the method described here.

This can be used for pretty much any self-stick decal. You just have to figure out where the best place is for the hinge to go. It might be on an end, or it might be on a longer side.


Take your time, and you'll get those self-adhesive decals where you want them. Your rockets can look the way you envision them!

Follow me on Twitter.

Like my Facebook page for blog updates and extra stuff.

Have a question you'd like to see addressed on this blog? Email me at iamtherocketn00b@gmail.com.

Thursday, June 14, 2018

Magical Weight-Reducing Balsa Filler (???)


I recently wrote about a test of various balsa grain fillers and sealers and the weight they add.

The clear winner of that test was the Brodak butyrate dope sanding sealer, which added 0.3 grams of mass to a piece of 3 inch by 3 inch balsa, sealed on both sides. In other words, the sanding sealer added only 0.033 grams per square inch or 0.005 grams per square centimeter of fin area. That's pretty light!

Well, it's one thing to test out something in the abstract - on square pieces of balsa. I was curious how much I would add to an actual rocket I was building.

I'm trying to finish all the rockets I started last year before starting anything new. It's been tough! I've got so much on the build pile, and I'm itching to build everything. But experience has taught me that I should limit myself to one or two projects at a time, focus entirely on them, and I will actually be more productive - and enjoy building much more.

I started to build the Estes Hi Flier XL. Sometimes, when I start a kit, I'll cut some spare fins, and practice shaping them into airfoil or streamlined shapes, so I feel confident when I move on to the kit fins. Sometimes, if those fins turn out well, I go ahead and make a clone of the whole rocket - if I have the parts, which I often do. Usually, the clone ends up finished long before the original kit.

This is what happened with the Hi Flier XL. I built a clone, added a payload section, since it's long enough to require two body tubes, and painted it like my original little Hi Flier. It looks great, but it feels a little heavy, and doesn't fly as high as I'd thought it would.


I filled the fins on the clone with Elmer's Carpenter's Wood Filler. I also think my paint job was a bit heavy. And there's the payload section which included a 1/4 inch thick basswood bulkhead, screw eye, and a small dab of epoxy.

So, now that I'm building the kit, I'm weighing it at each stage, just to see where the mass is coming from.

On the kit, I filled the grain with Brodak sanding sealer. I weighed all three fins together, and they were 33.1 grams.


Then I used two coats of sealer, followed by a good sanding. Then I did a third coat and sanding, and a final fourth coat.

Then I weighed the fins. They came in at 34.1 grams before I sanded off the final coat of sealer.


So, with no sanding, the whole set gained 1 gram - and these are large fins! That was really encouraging.

I sanded rigorously, until the fins were glass smooth, then wiped off all sanding dust, and weighed the fins again.


33 grams even.

What?? The fins lost a tenth of a gram after sealing and sanding! Is this possible? Did the sealer allow me to sand off a bit of extra weight while maintaining a smooth finish? Is my scale acting up?

Instead of adding a tiny amount of weight, my fins lost weight! At the very least, they didn't gain weight.

I have a history of owning things that don't work very well - cars, appliances, etc. So when I see a result like this I tend to be skeptical that I got the right answer. I tend to think there's something up with my equipment or with the way I'm using it.

So, maybe the fins lost weight after filling. Maybe not. I guess this means I'll have to weigh future builds carefully to be sure.

Why am I so obsessed with what my rockets weigh, and where the mass comes from? Two reasons. First, I think readers of the blog will find it interesting, and I hope some will find it useful. The second is that when I started out, my rockets were all lighter! As my paint jobs have gotten prettier, my rockets have gained weight, and their altitude has probably suffered.

My Big Bertha - not smooth and shiny, but very lightweight!


I used to paint very light coats, moving the spray can quickly, until I got full color coverage. Doing this, though, I rarely got a nice, shiny gloss coat on a rocket. To do that, I needed to paint a little heavier, so that the atomized droplets of paint could run together to form a nice shiny shell of paint. It's a tricky thing to get - you don't want to go so heavy with the paint that it runs and sags!

My Estes Goblin. It looks nice, but that shiny coat of paint is on the heavy side.

I've got the wet coat pretty well down, but the rockets have gotten heavier. I want to see if I can have pretty rockets that also don't weigh a ton. So I need to be rigorous with my testing. Maybe I can save weight another way. Or maybe I need to change my painting method.

In any case, it does fit with the original mission of this blog - I learn about this stuff, then I share it with you - and any other Rocket N00bs out there can benefit.

Follow me on Twitter.

Like my Facebook page for blog updates and extra stuff.

Have a question you'd like to see addressed on this blog? Email me at iamtherocketn00b@gmail.com.

Thursday, May 31, 2018

Sanding Block Pro Tip


A while back, I showed a way to remove self-adhesive sandpaper from an aluminum sanding block, like the Great Planes Easy-Touch Hand Sander*, seen above.

Self-adhesive sandpaper, such as the stuff I buy from Klingspoor, has such a powerful adhesive on it that you can't simply peel it back off the aluminum.

My solution was to hold the sander under a stream of warm water and slowly but firmly peel the sandpaper off.


Any remaining adhesive is cleaned off with a cotton swab and an adhesive solvent such as lighter fluid.


While this certainly works, someone suggested to me a much easier, faster way, and it doesn't require running water.

All you need is cheap masking tape.

The Great Planes hand sander is just a hair over 2 inches wide. I got the cheapest masking tape I could find over 2 inches - a 3-inch wide roll for about $5. (That's a Boston hardware store price. In most parts of the U.S. you should be able to find it cheaper.)

Just adhere a strip of the tape directly to your sanding block.


Trim the tape down to the edges of the sander.


Now you can attach the self-adhesive sandpaper as you would normally, and trim that down as well.


Despite being a lot less sticky than the sandpaper itself, the masking tape will hold up to pretty heavy use. Once you're ready to change paper, you can just peel it off the sanding block with a fingernail.


Now you can quickly and cleanly change paper without any running water, and with no need to use a solvent to clean up any remaining adhesive residue.

You should use one piece of tape wide enough to cover the whole sander. If you try to put two narrower pieces side by side, the ridge will show through on the sandpaper side, and your sanding surface won't be perfectly flat.

Even if you don't own a Great Planes Hand Sander, the masking tape method should work with even a simple wood block sander. Whereas the sandpaper's adhesive would take the surface off a wood block, cheap masking tape should peel off easily. Having the sandpaper adhered flatly against the sanding surface is much better and flatter than simply wrapping a piece of sandpaper around a wooden block, as it gives you more control.

*As of this writing, it's difficult to find a Great Planes hand sander. Great Planes was owned by Hobbico, and as a result, was part of the whole Hobbico bankruptcy. We in model rocketry got really lucky that Estes was purchased by Estes Industries, LLC, run by people who actually really care about the hobby itself. Hobbico's other holdings have apparently been purchased by Hobbico rival Horizon, and so far, the future of all its holdings is uncertain. The Easy Touch Hand Sander has been on backorder for some time. I hope it returns to market some time soon. It's such a simple, elegant tool - my favorite in the tool box. I own three! I'll try to keep track of when the Great Planes sanders come back and post about it here. I recommend you get one. They're inexpensive and a great little tool.

Follow me on Twitter.

Like my Facebook page for blog updates and extra stuff.

Have a question you'd like to see addressed on this blog? Email me at iamtherocketn00b@gmail.com.