Tuesday, December 22, 2020

Many Pictures, Few Words - My 2020 In Rocketry


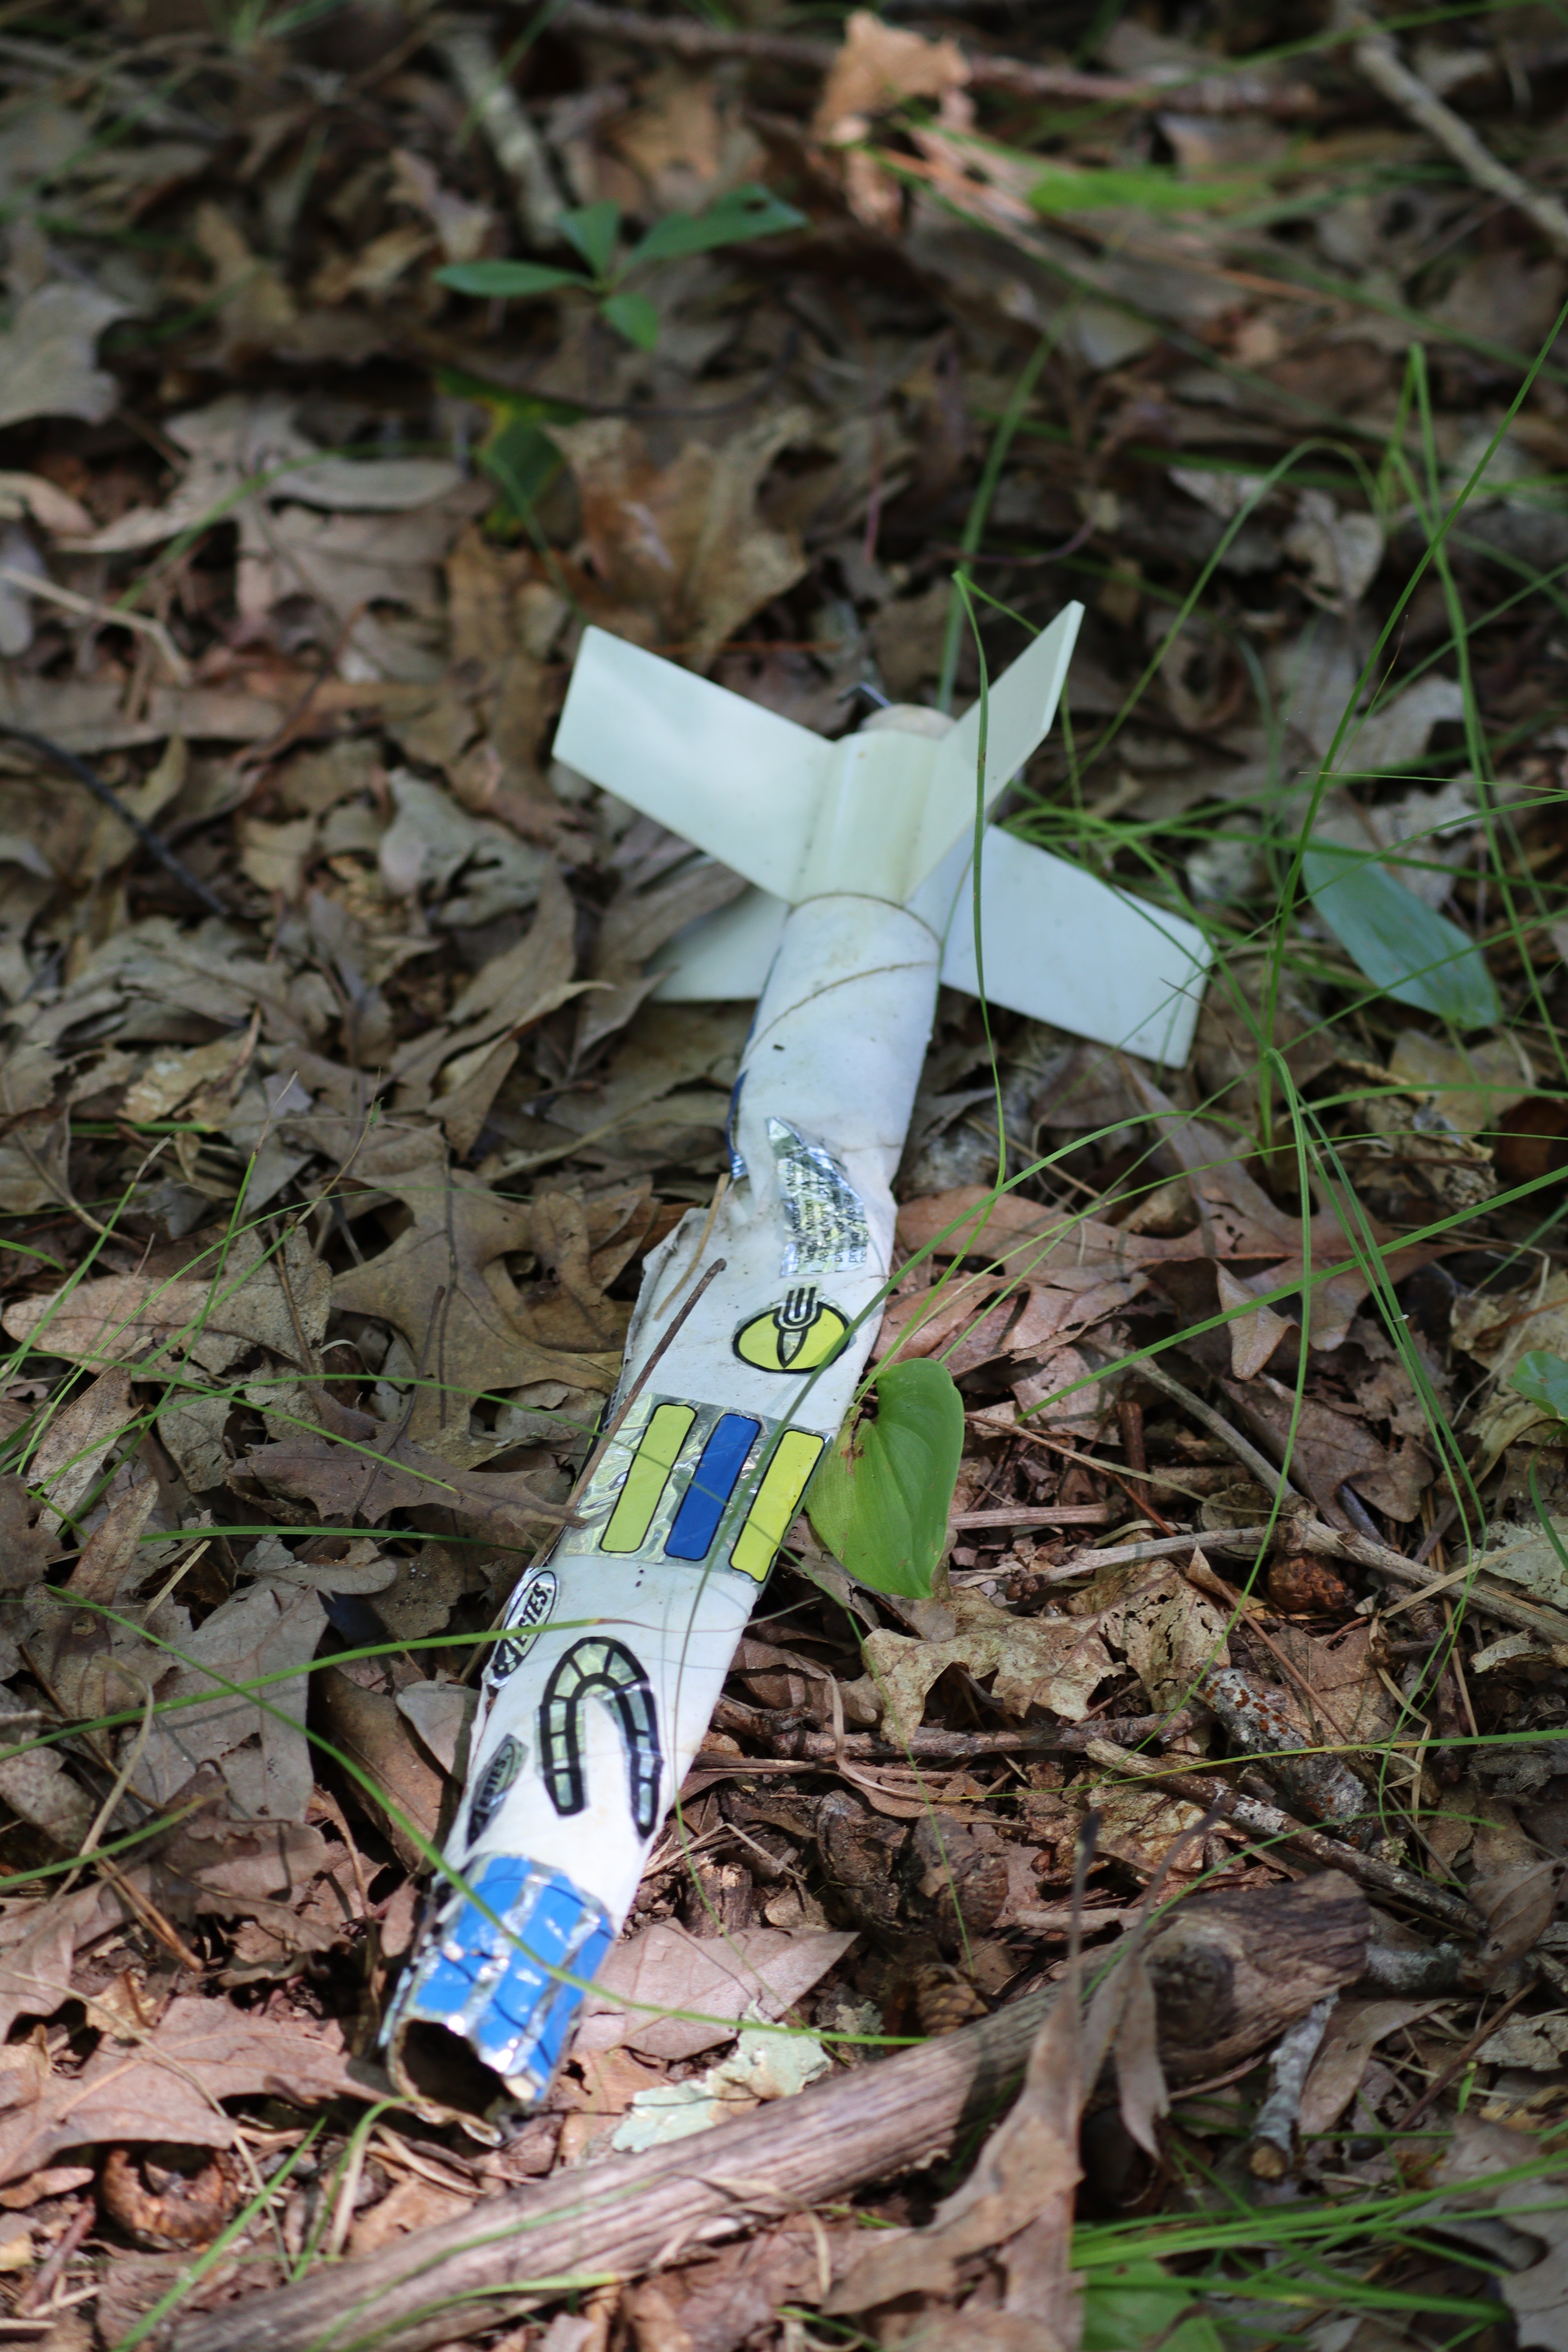
The moment you realize you're not going to find the rocket you're looking for
The moment you realize you're not going to find the rocket you lost sight of over the tree line...

Start the post with an obvious fact you have to mention because it would be weird not to, despite the fact everyone already knows it.

2020 has been pretty rough for most of us. Even escaping through rocketry became a challenge for many, as public launches were put on hold for a few months.

Also, I have not felt like writing on this blog in some time. Like most people, I've been distracted.

But I have been building, and even flying. Here are some photographic highlights of the year so far, in no particular order. Just some stuff to look at. I'll drop in a few words, here and there.

Semroc Cherokee D


Semroc Bandit


FlisKits Tres (upper section)


Some new builds for 2020

First launch of the year

My friend David with a special scratch built rocket


I call these recovery shots "rocket boudoir photos."


Forget the bunny ears. Do this.


Lost and found in the woods

At a club launch in Acton, a small rocket disappeared over the tree line. When I headed for it, I came to a spot in the woods where the ground swiftly dropped away. It wasn't a cliff, but it was far too steep to walk down.

I had to find another way down behind the trees. I saw a father and son come out of a trailhead. They'd lost a rocket and had just given up the search, but they told me I could get access to the lower area via that trail. I decided to try it.

Going to look for a lost rocket - I have no idea what's on the other side


I didn't find my rocket - just lots of wildflowers, bees, streams, deep vegetation... and the rocket lost by the father and son I'd met going into the woods! They were happy to get it back.


In late summer, we finally got to go back to our larger field in Amesbury. Here we can fly low power model rockets, as well as some high power.

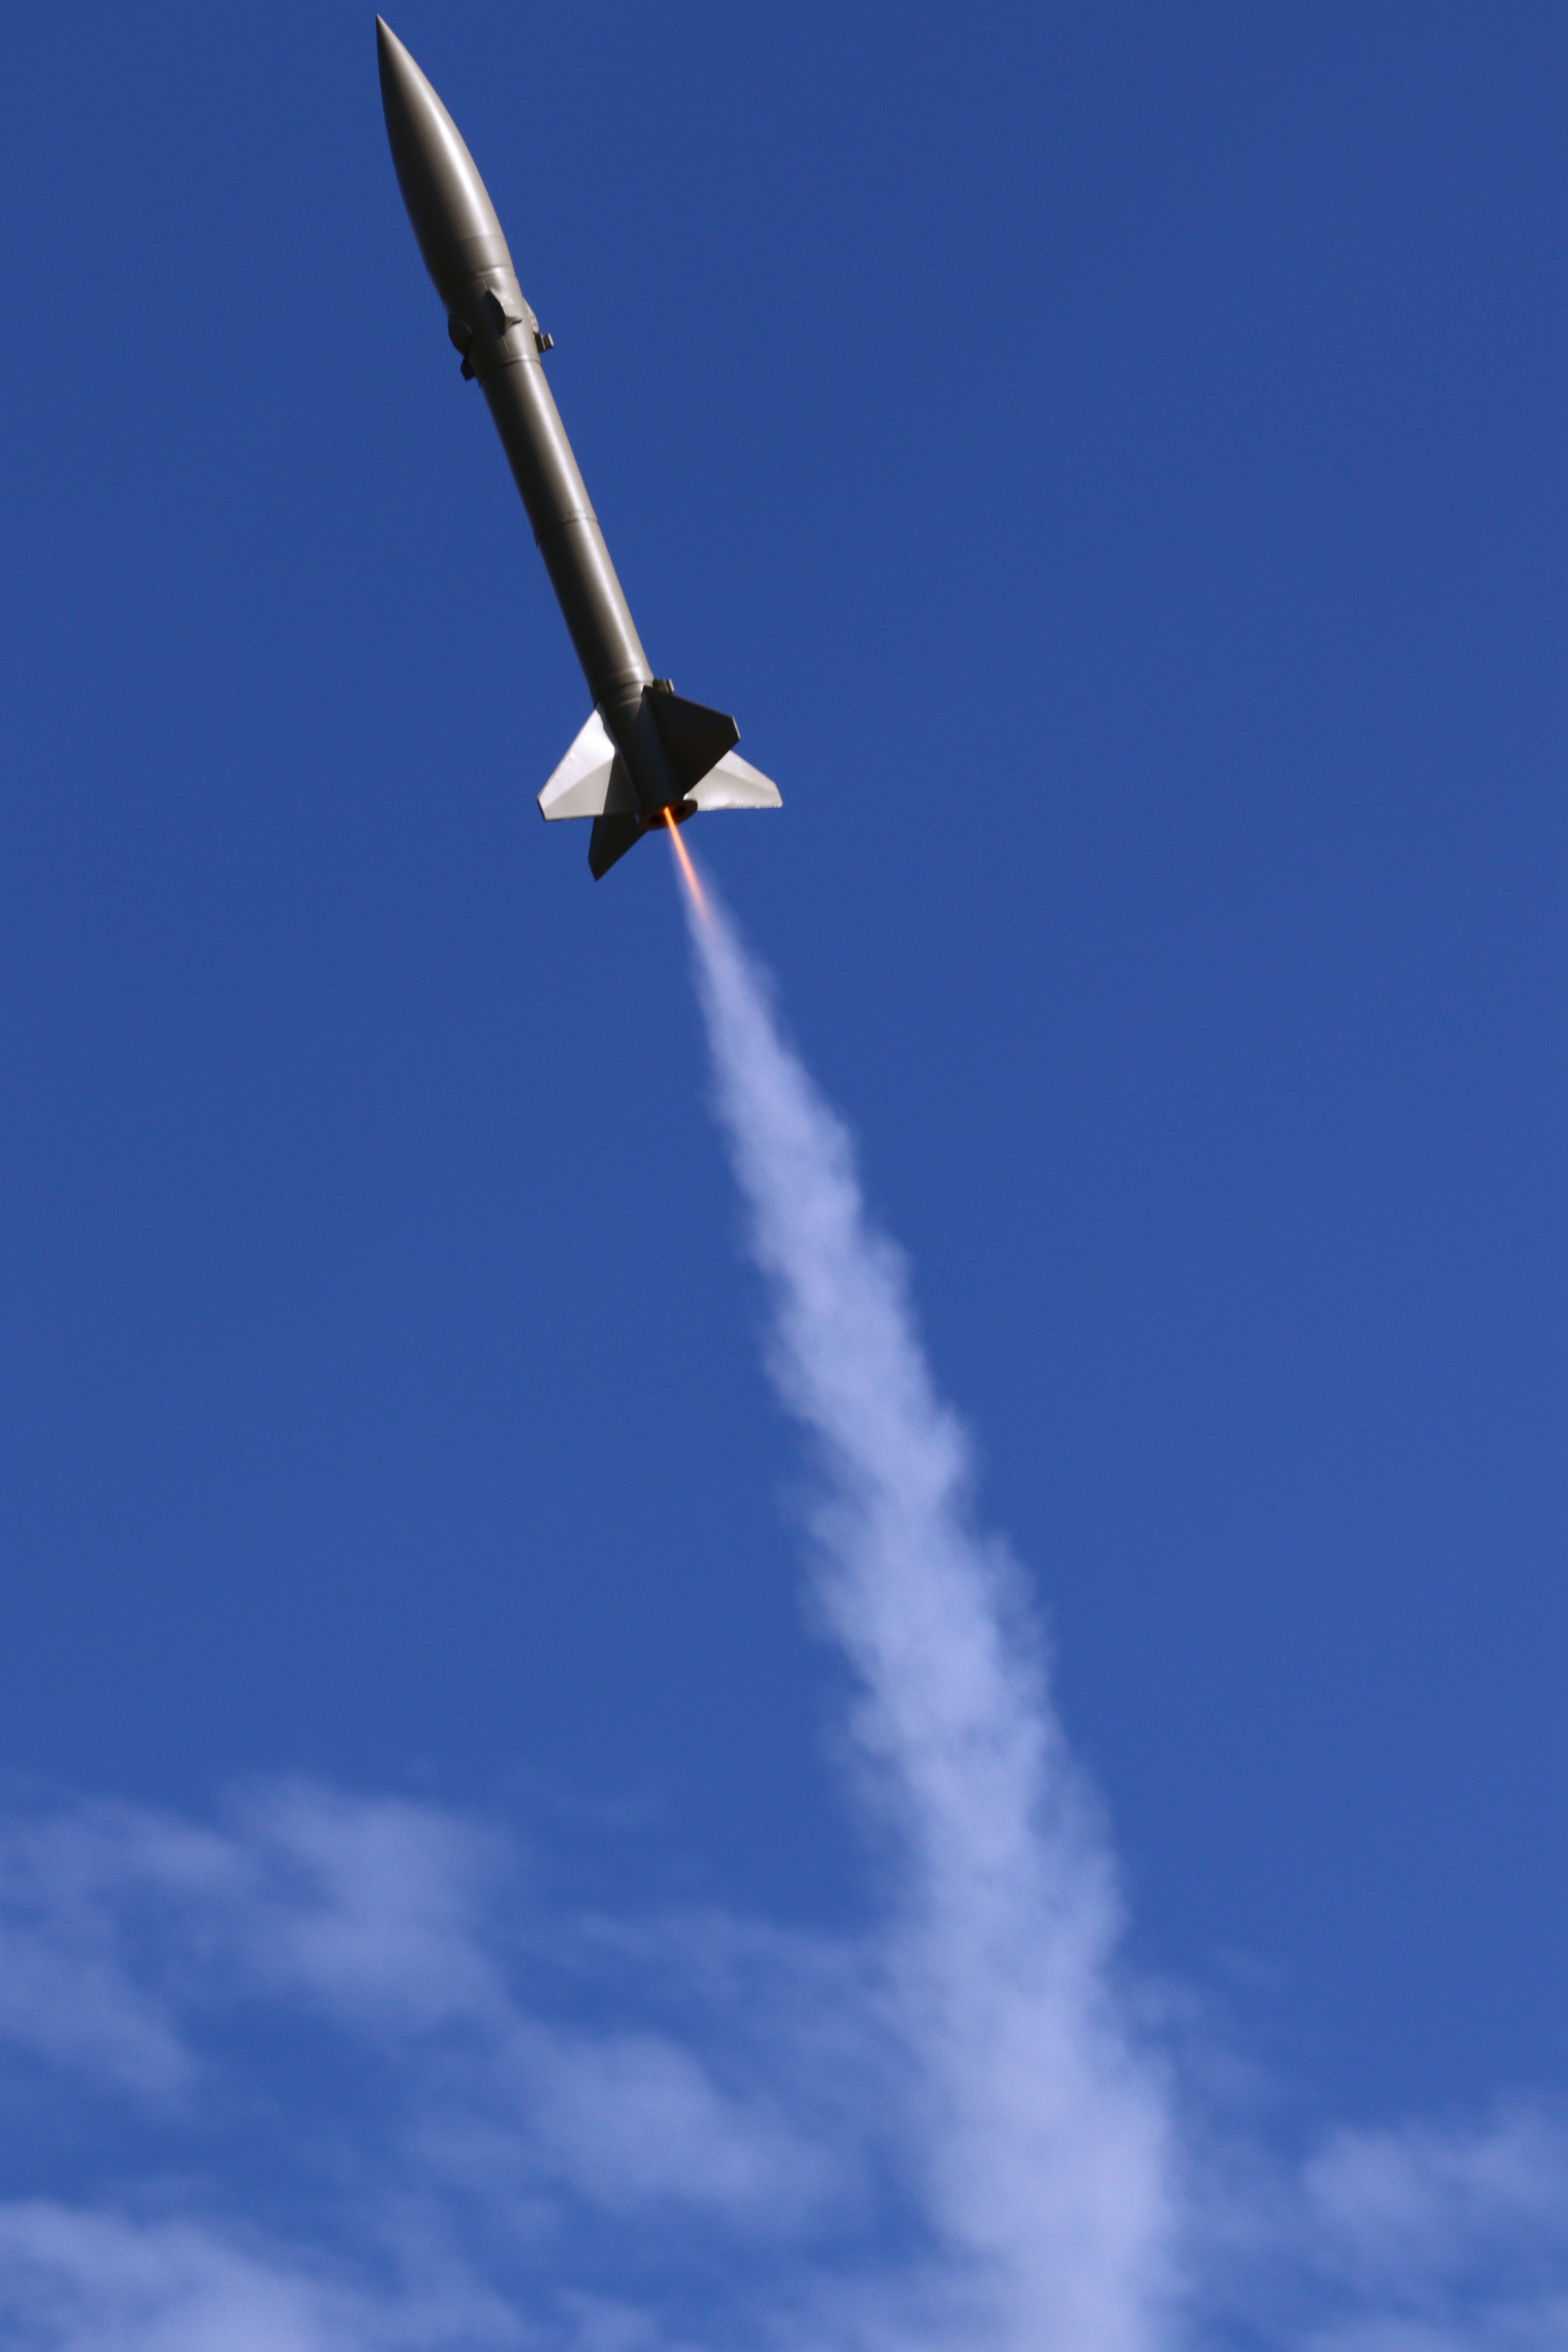
I took all of these pictures, but they're not all my rockets. I was trying to learn to shoot launch photos. I only got a few good liftoff shots.

North Coast Rocketry Laser Hawk


The Laser Hawk and Leviathan aren't mine, but this Nike Smoke is. I've flown it a lot the last few years. It's become a good rocket to end the day on.

I find if I try to photograph or video a launch of mine, I don't remember the experience of the launch itself. I just remember things from the perspective of the photos or video - and that's only if they turn out.

So I decided this summer not to try and shoot much, but just to watch and enjoy my own flights. Though, I did manage to get some good recovery shots as rockets were descending under parachute.


This year, after launches, I decided to take time to notice things around me. How things changed as the seasons progressed. A launch field has a lot more going on than rocketry. Don't forget to stop and photograph the dandelions.



This is the one picture that's out of order. This launch was mid summer...

But this is the same rocket, later in the season, at the larger field.

My Estes Cosmic Explorer is another favorite I turn to all the time.


A sign of the times - Halloween, and COVID

I like to use very long elastic shock cords. It minimizes damage.

This beautiful RC boost glider went up many times at this year's club launches. It went aloft on long burning E6 motors and stayed in the air for many minutes.


I decided on removable plastic rivets to retain the nose cone on the FlisKits Tres.

A witness mark helps me matchup the holes with the correct side.


A quick 3-motor cluster I designed and built in 2-3 days.

I like flying Berthas.

First flight of the D-Region Tomahawk


Not my rocket

Over a year late, conditions were finally right, and I felt comfortable launching my Estes Saturn V. I was nervous, because I'd seen some of these go unstable. I had added a bit of bracing to the motor mount, and worried this might have shifted the center of gravity aftward a bit.

So I added extra nose weight during building and hoped for the best. I asked to put this on the high power pad, further from spectators, just in case. I launched it on an AeroTech E30-4T motor.

I needn't have worried. It flew far better than I'd expected. I was told by a couple people it was the best model Saturn V flight they'd ever seen. It was arrow-straight upward. It was beautiful. I do wish I had photos or video of this flight.


A recently completed build


I have a level 1 high power rocketry certification, but almost never fly high power. In fact, the rocket below was the first high power rocket I'd flown since my certification flight in 2016.

I called this rocket Yellowjacket. It flew on an AeroTech H100 DMS motor. It was either going to be that, or an I175 - which made me too nervous.

This rocket weighs 1388 grams, or 3 pounds 1 ounce, so I wanted to be careful.


I did attempt to film this flight. Unfortunately, I did not manage to keep the rocket in frame. And the onboard camera I had strapped to the side stopped working before launch.


The flight seemed a bit wiggly, and veered off the pad in a way I didn't like very much. But some observers told me it was a good flight. I'll have to make another attempt next season.

* * *

I haven't been involved in rocketry as long as some folks. I've only been in the hobby for six years. But it's been a very important part of my life since I discovered this whole thing.

Despite this being such a difficult year, being unable to see friends and family, economic stress, worry, fears rational and irrational, and all the other things that have made 2020 a year many of us would have gladly skipped, still...

Rocketry, this silly pastime of ours, is one of the few things which have kept me afloat. I managed to get in some quality building time, and, surprisingly, nearly as much flying as a "normal" year. The weather was surprisingly good where I live for much of the summer and fall.

If it weren't for rocketry, I'd have felt a lot more lost this year. My hobby, and my family, have made 2020 a net positive for me.

Follow me on Twitter.

Like my Facebook page for blog updates and extra stuff.

Have a question you'd like to see addressed on this blog? Email me at iamtherocketn00b@gmail.com.


Monday, September 7, 2020

A Conversation with James Duffy - Scale Modeling, FAI Competition, and More


James Duffy on the cover of Sport Rocketry Magazine, published by the NAR.

Episode 6 of The Model Rocket Show podcast is up, and I really loved this conversation.

I chatted with James Duffy of the Austin Area Rocketry Group. James was one of the organizers of NARCON 2018 in Houston, TX, and is a skilled builder of flying scale models. He is on the American team in international FAI rocketry competitions, and runs Spacemonkey Models, selling the most detailed V-2 static scale model available.

James' main specialties are the Bumper WAC - an early American sounding rocket consisting of a captured German V-2 for a first stage, topped by an American WAC Corporal sounding rocket as a second stage...

Bumper 8 lifting off from Cape Canaveral

James Duffy's Bumper WAC model

...and the Little Joe test vehicle, used by NASA during Project Mercury to test the launch escape system.

Little Joe 5B Liftoff

One impressive model is the 1/12 scale Little Joe, flown in international competition, and which can be seen in the image from Sport Rocketry magazine at the top of this post. This rocket flew on a combination of 13mm mini A motors and two F motors - an unusual cluster!

Through Spacemonkey Models (CLICK HERE), James sells a plastic, static model (non-flying) of the German V-2 missile. It can be converted to a flying model with a kit sold by Apogee Components (CLICK HERE).

The Spacemonkey V-2 is beautifully made. There's a fully detailed build series on James' YouTube channel, rocket.aero (CLICK HERE to see the playlist).


The podcast episode can be heard on any podcatching app, or directly on The Model Rocket Show website (CLICK HERE).

Follow me on Twitter.

Like my Facebook page for blog updates and extra stuff.

Have a question you'd like to see addressed on this blog? Email me at iamtherocketn00b@gmail.com.

Monday, May 11, 2020

K'Tesh! A Chat with Jim Parsons, OpenRocket Wizard - The Model Rocket Show

Jim Parsons' OpenRocket sim of the Estes Cineroc and Omega

The latest episode of The Model Rocket Show podcast is up, and I'm talking with Jim Parsons. You may know Jim by the username K'Tesh on The Rocketry Forum, and one of the things he's known for is creating accurate-looking simulation files of kits past and present, using OpenRocket - the free, open-source model rocket design and simulation software.

I've used Jim's information as reference material when trying to get decals or paint in the right places on some of my builds.

Cherokee D decal placement

I even downloaded his sim of the Estes Leviathan when preparing for my High Power Rocketry Level 1 flight, because that's the kit I used, and I knew the fins would be accurate if Jim made the file.

You can listen to the episode on most podcasting apps, or directly on the website by clicking here.

Check out K'Tesh's master list of OR files on The Rocketry Forum by clicking here.

See Jim's excellent Flickr stream by clicking here.

Download OpenRocket here.

Follow me on Twitter.

Like my Facebook page for blog updates and extra stuff.

Have a question you'd like to see addressed on this blog? Email me at iamtherocketn00b@gmail.com. 

Tuesday, April 21, 2020

FlisKits Tres - A Challenging Build Part 3


Click here to go to the beginning of the build.

Once I had the motor mount installed in the FlisKits Tres, it looked pretty good and felt nice and solid. But there were small gaps between the motor tubes and the main BT-60 body tube. I suspect this may be the case for most, if not all, builders of this kit.

Those will need to be filled in. Now, it's not just that I don't like the way this looks. Remember that there is only one "centering ring" in this rocket, and it's at the very base, flush with the end of the body tube. So there's not a second ring at the top of the mount to make a nice, airtight seal.

When the ejection charges on the rocket motors go off, they need to pressurize the inside of the body tube in order to blow the nose cone off - and eject the parachute. If you have large gaps like the ones in the photo above, all the ejection charge gasses may just leak out the back. This would lead to a failure to deploy the parachute. The rocket would then come in ballistic, meaning it would nose dive fast and hard into the ground. This would most likely destroy the rocket - and is potentially dangerous, should it hit something or someone.

So, we'll need to fix that. To do this, we'll use glue and make a nice fillet around each of the engine tubes where they meet the body tube.

Even if your rocket has no gaps here, it's not a bad idea to put fillets around the motor tubes. It will hide any jagged edges you've got left, and will make the whole rocket look neater.

To make the fillets, I used the same thing I use for most of my fin fillets - Titebond No-Run, No-Drip molding and trim wood glue. Ever since hearing about this stuff from Chris Michielssen's Model Rocket Building blog, I've used it to make fillets. Swapping out the wide Titebond nozzle for an Elmer's fine point nozzle is a tip I picked up from Chris.


Because it's less prone to sagging and shrinking, and because it starts to dry quickly, this stuff is ideal for filleting these gaps.

I started by running a bead of glue from near the top of the motor tube to the end of the body tube.


You don't need such a thick bead, by the way. Most of this is coming off. When my bottle gets lower, sometimes I squeeze out a bead of glue, and there are gaps in it. So I went a little heavy here to make sure I had one, unbroken line of glue.

If you try to smooth the whole fillet in one swipe, you'll end up with a mess. By the time you get to the end, you'll have so much excess glue built up on your finger that it will end up overflowing the sides of your finger. It's better to do a few swipes and clean off your fingertip with a damp sponge or cloth.

So I started about a third of the way up from the back end, and swept the excess off toward the end of the tube.


I went another third of the way up, and again swiped to the bottom.


Finally, I flipped the rocket over, and attempted to smooth the last bit over the top end of the motor tube. My hope here was that with a few fillet layers, I could actually smooth that joint over, so it would look like the motor tube was simply a part of the body tube, like the branch of a tree, rather than having a sharp ridge where the tube was obviously poking through.

You may prefer to keep a sharp separation. It's an aesthetic choice.


As you can see, there was a bit of excess. That's easily cleaned up by going over it with a clean finger.


Allow the first fillets to dry, then do the other sides, allowing each to dry.

Don't worry if the glue shrinks slightly after the first fillet, leaving a little gap. Do another couple of layers and the fillets should not only close off any air leaks in the tube, but also look nicely rounded. This will show in the paint job.


Next up, the fins. That's my favorite part of a build - it's when the rocket really starts to look like something!

Follow me on Twitter.

Like my Facebook page for blog updates and extra stuff.

Have a question you'd like to see addressed on this blog? Email me at iamtherocketn00b@gmail.com. 

Sunday, April 19, 2020

FlisKits Tres - A Challenging Build Part 2


Click here for Part 1.

The three-motor cluster mount of the FlisKits Tres is canted, which means that, rather than pointing straight up through the rocket's body tube, the engine tubes stick out at an angle. Because of this cant, the tubes have to protrude through the body tube a little bit - you can't just slide the mount in like you would with a standard model rocket motor tube and centering rings.

This means you have to do some cutting through the body tube, and here's the part that might make a newcomer to model rocketry a bit nervous. You have to make some cuts with a hobby knife, and you have to do it freehand, so there's a possibility of making a critical mistake.

But it's not to worry. Unless you're extremely good with a hobby knife, the cuts will not be perfect, and even if they are, you'll probably have to do some cleaning up and fitting anyway. Go slowly, and even if the cuts are somewhat messy, they can be fixed. That's not to say you couldn't mess up and cut too far if you're not careful. Again, go slowly. You can do this.

On the card stock template sheet included with the kit are two fin marking guides. The "Main Fin Marking Guide" includes marks not only for the fin placement, but also for the motor tube cutouts.


On this rocket, the fins are evenly spaced between the canted motor tubes. Cut out this guide as you would with any fin marking guide.

On the guide are areas that will need to be taped to the rocket to keep the guide from moving. You'll be cutting right through this guide, and it's important that it not slide around. The guide gets wrapped around the BT-60 body tube and placed right at the end of the tube. Then put tape in the spots indicated on the guide.


It's important to be careful when taping. You're not only taping the guide to the outside of the rocket; on the bottom the tape will wrap around to the inside of the tube. You don't want to rip the tube when you take the guide off. So, either use a low tack tape, or stick the tape on your forehead or pants leg before taping it to the rocket. That will make the tape less sticky and you can remove it without pulling off any layers of paper from the tube.

Make pencil point marks where the arrows indicate for your fin lines. Then, you begin cutting.

What you want to do here is go slowly. Trace the cutout with your hobby knife. The goal is to cut through the guide, and lightly score the tube - so you are in fact cutting the tube, but you don't want to try and cut all the way through at this point.

Trace that line slowly, especially at the top end where it curves sharply. Don't expect it to be perfect - it almost certainly will not be, and that's OK. Try to keep your knife on the line, or as close to the inside of the line as possible.

When you're done cutting, it will look like this:


Remove the guide from the tube, taking care not to tear anything as you lift the tape.

Before continuing to cut, use an aluminum angle or door jamb to extend your fin marks all the way up the tube. It's best to do it now, because once the cutouts are removed, the tube end won't be as strong, and you may have a hard time drawing a straight line on the tube without the tube distorting.

Then, carefully go over the score marks to cut out the engine cutout area completely. Go slowly, don't press too hard, and just do your best to retrace the score marks you've already made. If you press too hard, you may find your knife suddenly cuts through and you end up with a slash mark all the way up the tube!

Once you've cut everything out, it will probably look pretty jagged.


Again, this is fine. You're going to have to clean it up anyway.

At this point, take your finished motor mount and test fit it into the body tube with the motor tubes in the cutouts. When you install the motor mount, the custom centering ring - that black disc with cutouts - should fit just inside the body tube and be flush with the end.

But, most likely, at this point, you won't even be able to fit the mount all the way into the tube. Your cutouts will be too narrow, and the motor tubes won't pass far enough into the tube. I suspect that even if you cut exactly on the lines of the cutting guide, the slots may still be too narrow.

Here's where you do your cleanup. You'll need a bit of sandpaper (probably about 220 grit will be just right) and a used rocket motor - one of the standard, 18mm A/B/C ones. Wrap the sandpaper around the motor casing, and use that as a tool to sand where you need. If you find it too awkward to hold, you can glue the sandpaper on.

I use self-adhesive sandpaper, so I just stuck that onto my used motor casing.


Test fit the mount into the body tube, and start by sanding away any edges which are too narrow and block the engine tubes from passing far enough into the rocket. You should be able to slide the motor mount in closer and closer to flush with each test fit.

When I first posted Part 1 of this build, there was something I forgot to mention. I've since gone back and edited it in. But I didn't think to do it when I was building, so that's why I forgot about it. Check to see that the centering ring actually fits into the body tube before building the motor mount!

Now, if, like me, you didn't do that, you may find, like I did, that the fit is too tight. In my case, the centering ring was just a little bigger than the inside diameter of the tube. You see this all the time in kits, and if your centering ring doesn't fit inside the body tube, just sand the edges lightly until it does.

If you've already built the motor mount, and the centering ring won't fit, you can still sand the edges with an emery board or sanding stick. It's not as easy as sanding with a bit of sandpaper before gluing everything together, but it's not too tedious.

When the motor mount fits and the shape of the cutouts is right, and the edges are relatively clean, you're supposed to sand a bevel on the inside forward edge of the cutouts with your motor casing, to give a better surface for gluing.

It should look something like this:


When everything looks like it dry fits correctly, you're ready to glue the motor mount into the rocket.


Put a thin bead of glue around the inside edge of the body tube where the centering ring will fit flush in the end, and a thin bead of glue on those beveled edges inside the tube where the motor tubes will butt up against them. Install the motor mount, and carefully tape all the edges of the body tube to the bottom of the centering ring.


This will ensure that the edges of the tube adhere to the centering ring, and that the motor mount doesn't push its way back out before the glue dries (a tight fit can make the assembly act a little springy).

Carefully remove the tape when the glue is dry. The mount should be solidly in place. You can pat yourself on the back. The hardest part of this build is complete.


You may notice there are gaps between the motor tubes and the BT-60 body tube. Not to worry - we're going to take care of that next.

Click here for Part 3.

Follow me on Twitter.

Like my Facebook page for blog updates and extra stuff.

Have a question you'd like to see addressed on this blog? Email me at iamtherocketn00b@gmail.com. 

Saturday, April 18, 2020

Nothing Flies Like a Flis - The Model Rocket Show - Episode 2 - FlisKits

Claude Maina's Streaming UFFO lifts off. Photo courtesy Jim Flis.

Episode 2 of The Model Rocket Show podcast is up, and I'm pleased how it turned out.

This show was meant to come out a year and a half ago, on The Rocketry Show, but one thing and another happened, and... well, I think we finally have a good episode.

Curtis Heisey's upscale FlisKits Deuces Wild

We're talking about FlisKits, and in the first half of the show we revisit the final FlisKits Anniversary Launch from September of 2018. Then we spend time talking to Ray DiPaola, one of the current owners of FlisKits.

Jim Flis, the company's founder, has already told me he liked the show, which was my hope. I love seeing Jim at launches. He's a great guy, and I know he was probably looking forward to hearing what we recorded so long ago.

Jim Flis holding a Saturn V prototype. Photo courtesy Curtis Heisey

The show is on most podcast apps or on the show's website (with some show notes and photos), if you prefer to listen on the web (click here to go to the website and show notes).

Give it a listen. I hope you'll enjoy it.

Part 2 of my FlisKits Tres build is coming soon.

Follow me on Twitter.

Like my Facebook page for blog updates and extra stuff.

Have a question you'd like to see addressed on this blog? Email me at iamtherocketn00b@gmail.com.