Click here for Part 1
In the last few posts, we've been looking at a simple model rocket I recently built - the Estes Monarch. When I began building it, I had a rather simple question - how much weight am I adding when I paint? So I weighed it after I built it, and then weighed it again after I painted it, and was really surprised to find that I'd increased its mass from 57.4 grams to 75.8 grams - an increase of over 32%. Nearly a quarter of the rocket's final weight was just the paint job!
This led me to examine a number of questions. How would the extra weight impact the altitude the rocket could be expected to reach? Would a smooth paint job, despite being heavy, actually be an advantage over no paint job, because it would reduce aerodynamic drag enough to make up for the added mass?
We ran some simulations in parts 2 and 3, and found that, in some cases, as with a D12 motor, yes, it might. But in other cases, the added weight was too much, and the heavier Monarch would never catch up to the lighter, unpainted Monarch, despite being smoother. On an Estes C6-5 motor, for example, light and unfinished beat heavy but smooth. Since the Estes Monarch is only meant to fly on C motors or smaller, this is significant, because it suggests that if I wanted the rocket to perform better (rather than merely be pretty), I would be better off not painting it at all.
But smooth paint
can reduce drag, while a rough surface texture increases drag, which impedes altitude. There had to be a sweet spot - a trade off point where light weight and smooth texture are in balance to help the rocket be the best flyer it can be - while looking great.
This led me to my final questions, which we'll examine in this post: 1) How much lighter would the painted rocket need to be to match the unpainted one in altitude? 2) How could I have added less weight while still painting? And if we're talking about both beauty and drag reduction, 3) how do you get a nice, smooth paint job?
Although I didn't build or paint the Monarch with maximum performance in mind, the answer to my simple question about the weight of paint led me to ask all these other questions. That's one of the things I love about rocketry -
it gives you so many things to think about.
Let's start by looking at Question #3 - getting a smooth paint job.
Getting a Smooth Paint Job
If we want the rocket to look its best and we want to reduce drag, we need the paint to be nice and smooth. So, how do we do that?
I'm not an expert, and I'm not going to go too deep into this question in this post. But I've gotten pretty good at painting. Most of my rockets today look much better than the ones I built when I first started two years ago. Only two of my rockets have a paint job I'd be willing to call "perfect," because they look just the way I wanted them to. Smooth and shiny, with no flaws or bumps stuck in the surface of the paint. Those two rockets are the Estes Goblin and my clone of the Estes Astron Sprint XL.
Most model rocketeers use canned spray paint - what we commonly refer to as rattle cans - to decorate their rockets. Getting a good painted surface requires patience, practice, and a little bit of luck.
The surface of the rocket must be prepared with a good quality
sandable primer. I usually use Rust-Oleum Filler Primer, because not only is it easy to sand smooth, but it's a high-build primer, meaning it can fill in little flaws, such as small patches of exposed wood grain on fins, or spiral grooves in the body tube, or minor flaws in the nose cone.
Once the primer has fully dried, the rocket needs to be carefully sanded until it's nice and smooth. Look at it in bright light to make sure you're done. Sometimes you'll find a rough patch you missed by holding the rocket up to the light. Sometimes you'll need a second coat of primer, and a second round of sanding.
Once you feel you've sanded the rocket well enough, remove any primer dust from the rocket. A clean cloth with a little bit of rubbing alcohol can remove the dust, or you can use a tack cloth. This is a bit of cheese cloth with a sticky resin in it which is used to remove dust before you paint.
Some people don't use tack cloth, because it can leave a sticky residue on the surface. The key with tack cloth is to go lightly. If you
press it onto the rocket's surface, you may leave some residue. But, truthfully, I've gotten fine paint jobs even when I've accidentally left a bit of residue on a rocket.
Once the dust has been removed, you're ready to paint. Most people spray paint outdoors. Spray paint produces harmful fumes which must be avoided, so proper ventilation is a must. And spray paint is messy, so outdoors is the place for most people.
Some people use a spray painting booth for indoors. A spray paint booth controls the flow of air, so you don't have to worry about whether it's too windy to paint outside. But a booth takes up space, needs to have very good ventilation, needs to be sealed properly so you don't get paint on the floor and walls, and you need to wear a respirator to protect your lungs - and your brain.
Assuming you'll be painting outdoors, you'll want to paint on a day with little to no wind. You want to make sure it's not too humid - the instructions on the paint can will tell you what the maximum relative humidity should be before you paint. You will need to shake the paint can for a minimum of 60 seconds after you hear the rattle ball moving around (sometimes the ball is stuck in the paint at the bottom of the can, and you'll have to shake it free before you start your 60-second shake).
Then,
test the spray. Give a few blasts of paint into the air to make sure the paint is flowing freely from the can, with no chunks of pigment coming out. This will also allow you to see which direction the wind is blowing. Even on a "windless" day, there will be air currents.
You'll want to paint with the wind at your back, so the paint goes toward the rocket, not off to one side or back at you. The key is to do a couple of light coats, allowing a few minutes between each coat for the paint to dry slightly. Check the paint can for exact drying time between coats.
Don't expect or try to get every bit of the rocket painted on the first coat or two. You will probably still see some of the underlying primer through the first couple of coats.
After the light coats have dried several minutes, it's time for a final, heavier
wet coat. The wet coat is the one that takes the most practice, because it's the easiest one to do wrong. You want to move the can a little bit slower and get a little more paint onto the rocket, and it should go on in a slick, wet layer. Move too slowly or get the paint on too heavy, and a drip or run will form. There's nothing you can do about that, except to allow the paint to dry fully for a day or two, then wet sand the drip off, and possibly repaint.
But when you get a good wet coat, the droplets of paint hit the rocket before they've had a chance to dry at all. They flow together, forming a nice, shiny surface which, when dry, should have a smooth, glossy finish to it.
 |
| The Estes Pro Series II Nike Smoke, nice and glossy after a few light coats and a heavier wet coat |
One of the things that can mess up a nice gloss finish is
overspray. Overspray is made of the droplets of paint that don't land directly on the thing you're painting. They float around in the air for a little bit, then settle out and sink to the ground. Some overspray will float around for a second or two, then end up on the rocket itself. In that short time, the droplets have already begun to dry slightly. Unlike the wet coat, the semi-dry droplets of overspray won't flow together with the rest of the paint, and will form tiny little bumps.
That's part of the luck part of the equation I mentioned above. A little change in the wind can blow overpray back onto the rocket. Or a bug can (and often will) decide to land on the wet paint. Or the paint is flowing smoothly from the can, when suddenly a clump will fly out the nozzle, leaving chunks on the rocket. This last one is why you should always shake your paint can thoroughly, and why you should do a few test bursts of paint into the air before you begin painting.
Often, a little overspray isn't terribly noticeable, unless you look at the rocket in strong light. But sometimes it is more noticeable.
Spay paint comes out of the can in a narrow cone shape. Sometimes you'll get a good wet coat on most of the rocket, but a bit of atomized paint on the edges of the cone of spray will land on part of the rocket - say, the fins - and there won't be enough droplets there for the paint to flow together into a smooth surface.
You'll see tiny bumps, or more likely, a patch which isn't as shiny or mirror-smooth Often, the bumps are small enough that if you let the rocket dry for a few minutes, you can hit that part of the rocket with another wet coat and everything will smooth out.
Other times, those bumps are too prominent, and adding another wet coat will simply be adding more weight, without making the rocket any smoother.
How Much Less Should My Painted Monarch Weigh?
Now that we've discussed painting technique, let's look back at our Monarch simulation.
What I want to find out is how much lighter the smoother, painted rocket should be, so that it doesn't lose altitude when compared with the rougher but lighter, unpainted rocket. If I'm trying to get the most from my model, it doesn't make much sense to paint the rocket for drag reduction, if the added weight is too much. Since the model was meant to fly on C6-5 motors, and the unpainted rocket simmed at just over 650 feet, I want to make sure the painted model can at least match that - and perhaps surpass it.
I start by opening up both simulation files side by side. As I mentioned in Part 3, you may get a slight difference in altitude each time you run a simulation, and this time, as you can see, the unpainted Monarch has an estimated altitude of 655 feet on the C motor.
Let's see if we can match that in the other sim.
The Monarch went from 57.4 grams before paint to 75.8 grams after - an 18.4 gram increase. How do I know how much weight to shave off in paint to match the altitude of the unpainted rocket?
To find out the maximum weight the Monarch can be before it starts losing out to the unfinished rocket, I'll click on "Sustainer," and override the mass, shaving off a gram at a time. Again, altitude predictions in a rocket simulator such as OpenRocket are approximate, and you may even find you get a slightly different prediction each time you open the same simulation, but this will at least give us an idea of a target weight to shoot for.
Once I get to around 65.8 grams, I'm getting close to matching altitudes on both rockets, so I start reducing the mass by 0.1 gram at a time.
At 65.6 grams, the altitudes are the same - both simming to altitudes 655 feet, give or take a few feet depending on the variables OpenRocket is calculating for. That means, if I paint the rocket to a "regular" finish, as I've done, I can afford 8.2 grams of paint before I start losing altitude. But that's less than half the paint I've applied! What's a rocketeer to do?
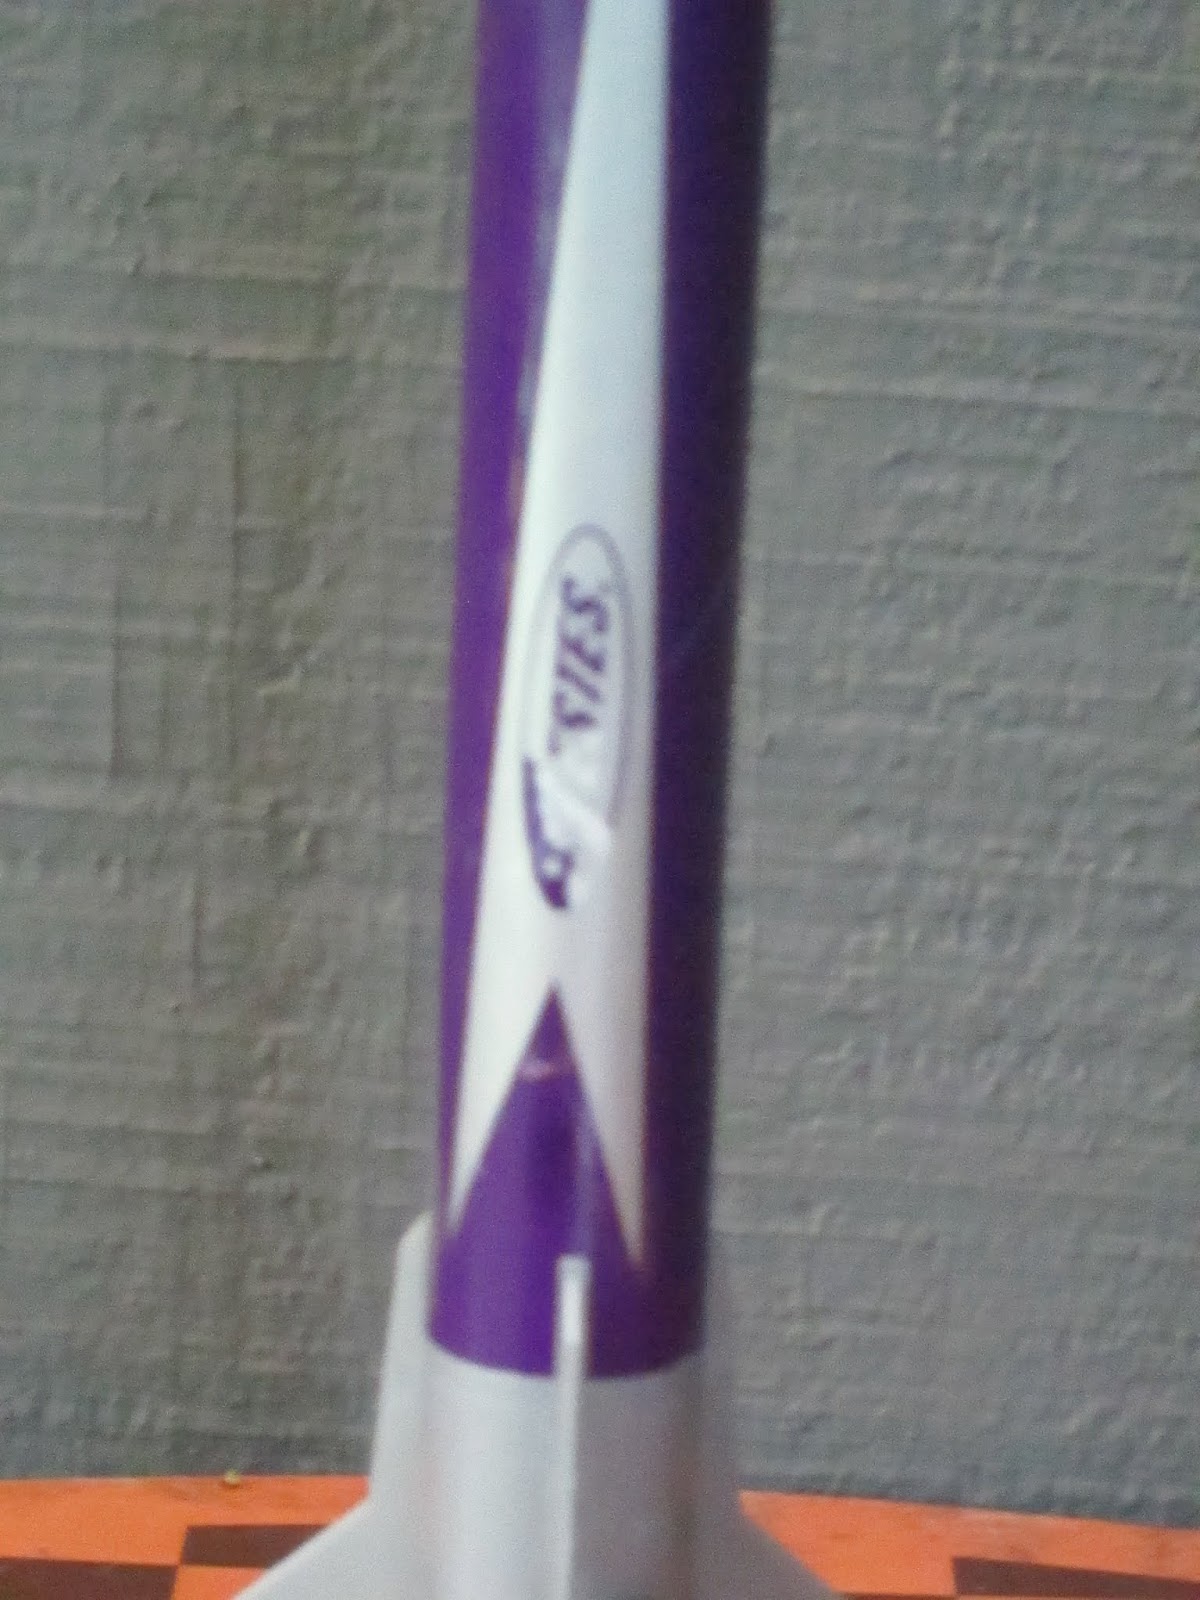
Well, remember, our rocket has what we're calling "Regular paint," with a smoother than unpainted, but not perfect, surface texture, which in OpenRocket has an average surface roughness height of 60 microns.
It's actually pretty good. These pictures are zoomed in pretty tight, and while they show the imperfections, the rocket is not as bumpy as the photos imply.
But it could be better. If we'd gotten a nice, smooth paint job on our first try, that would decrease drag further. Changing the surface texture in our simulation to "Smooth paint" with an average surface roughness of 20 microns, then adding weight back to the rocket gram by gram, we find that we can match the unpainted rocket's altitude at 72.1 grams.
 |
| When we change the texture to "Smooth paint," the altitude of the 65.6 gram rocket zips up to 692 feet. |
 |
| At 72.1 grams, the smooth rocket flies as high as the unpainted rocket. |
This means we only have to reduce the rocket's weight by 3.7 grams - we can afford 14.7 grams of paint weight - much more easily achievable.
If we take it even further and
polish the rocket, we can get it even smoother. Polishing involves wet sanding the paint (which we'll go into in further detail below), then using a car polish or rubbing compound to get the rocket nice and smooth.
Setting the painted Monarch's simulated surface texture to "Polished paint," with a surface roughness height of only 2 microns, we find that we only have to shave off 2.2 grams - we match the rougher rocket's altitude at 73.6 Grams.
 |
| The Monarch with a polished surface goes to 644 feet at 72.1 grams. |
 |
| At 73.6 grams, the altitude of the polished rocket matches that of the lightweight, unpainted rocket. |
That's nearly the weight we currently have. Any extra weight savings will mean that we can actually fly higher with the painted rocket than the unpainted one. At this point, the paint hasn't degraded the performance of the rocket - it has enhanced it.
The key, then, to getting the most out of a model rocket is to make it light and make it smooth. That means painting, but painting light. I added 18.4 grams to my Monarch when I painted it. How could I have kept off some of that weight?
How Can I Add Less Weight While Painting?
It's important to remember that this is just one rocket. Results
will vary! Though I added 18.4 grams to this Monarch when I painted, I could build the rocket again, paint it exactly the same way, and the end weight would probably be different. It's nearly impossible to control exactly how much mass you add when using spray paint cans. You press down the button, paint comes out, you point it at the rocket, and some of the paint goes onto the rocket. There's no gauge for measuring the mass of the paint as it comes out the nozzle, and no way of precisely controlling how much paint lands on the rocket.
But you can paint lighter, if you want to.
First, let's look at primer. I wasn't expecting to talk about this subject in such depth, so I neglected to weigh the rocket after primer but before paint. Still, primer certainly adds some mass.
Primer is less dense than the enamel paint I used on this rocket, and some of it gets sanded off. If I had to venture a guess, I'd say that the primer makes up only 20 percent of the added weight on the Monarch. That's close to 3.7 grams. It could be more, but to err on the conservative side, let's assume that the primer doesn't add much. Most of the weight savings will have to be in paint. Still, we could shave off a couple grams on the primer.
When I prime a rocket, I give it a good, heavy coat, and then I sand it until the surface of the primer is nice and smooth. But I leave a layer of primer on the whole rocket.
But you can remove more of it if you like. Let's look at a photo from Chris Michielssen's
Model Rocket Building blog.
 |
| Body tubes from two Estes Solar Warriors, being constructed on Chris Michielssen's Model Rocket Building blog, here. |
This is a photo from a typical build of Chris'. The larger picture is after primer, but before sanding. The inset is after sanding - most of the primer has been sanded off, leaving only a thin layer in the low spots on the rocket. This has the advantage of taking most of the weight of the primer off. If I'd done this on my Monarch, I'd guess there would be no more than 1 gram of added mass after primer.
So, that's one way I could have saved a couple grams of weight - sanding off most of the primer.
But usually, when I sand, the rocket still looks like the before picture above.. Sanding is best done with a light hand, though it can be tempting to apply pressure to the sandpaper to make the job faster. When I sand through most of the primer, I sometimes oversand, into the paper tube in a few spots, raising fibers, which can result in a fuzzy rocket rather than a smooth finish. It can be hard to see those fuzzies when the primer is gone. So, I usually try to leave a thin layer of primer in place.
That means I have to save weight in another area.
Here's where I reveal a secret about this build. I certainly put too much paint on this rocket.
As I stated above, I usually do two light coats, followed by a final wet coat. And, as I mentioned, sometimes a slight imperfection in texture can sometimes be hidden by a second wet coat in that spot.
Well, the bumps you see in the pictures here happened during my wet coat.
I'm not sure why they're there. It could have been temperature, or perhaps humidity (though I try to never paint unless the humidity is nice and low). It could be I held the paint can a little too far from the rocket, resulting in the droplets of paint drying slightly before hitting the surface I was painting. It could have been that I moved the paint can a little too quickly, so that the droplets weren't close enough together to flow into one smooth surface properly.
It can be hard to tell. If you get a problem in your paint job, you can take a picture of it and post it to an online forum, asking "What did I do wrong here?" and someone might give you the reason why, or you might get multiple conflicting answers. There are some very knowledgeable people out there on the subject of painting, but unless someone was in the room with you when you painted, it can be tough for them to judge what happened. Still, you'll get a few suggestions on how to avoid a certain paint mishap in the future.
In any case, I decided to try doing another wet coat.
This was a bad idea. I considered letting the paint dry completely after the first wet coat, then wet sanding the texture smooth, and if need be, re-painting to touch up any lost color. But I didn't feel like doing that with this rocket. I was trying to get it finished in time to fly the following weekend.
So, I did the second heavy coat and allowed it to dry. The bumps were still there, and at that point I decided to live with them. I did the second color on the nose cone, fins, and lower body tube, again with two light coats and a wet coat.
* * *
So, anyway, if you guess that the primer was - let's keep it conservative and call it 1.5 grams - then the paint was 16.9 grams. Let's say that the two light coats were 4 grams total, the wet coats were 5 grams each, and the second color, not covering the whole rocket - made up the remaining 2.9 grams.
I know I'm guessing here, but you can see how I might easily save enough weight to make the rocket perform better.
By sanding off more primer, deciding to be happy with one wet coat - and perhaps sanding and polishing out the imperfections - I could easily have saved 5 or 6 grams, and maybe more.
Removing surface imperfections on a painted surface is often done with wet sanding. Wet sanding, as the name implies, is the process of sanding a surface smooth, using water as a lubricant.
Instead of standard, tan-colored sandpaper, wet sanding requires the use of
wet/dry sandpaper. It's often dark gray in color, and it's water-resistant, so it won't disintegrate when wet.
Like standard sandpaper, it comes in different
grits, numbering higher and higher the finer it gets. To wet sand paint, you start with a fine grit - at least 600 grit - dampen the paper, lightly sand, and then move to a higher grit paper. To get a nice smooth finish, you may lightly wet sand with paper up to 1600, even 2000 grit.
Wet sanding helps to get a really smooth finish by lubricating the sandpaper, and by rinsing away any sanding dust, which could clog the sandpaper and scratch the painted surface.
Paint should protect the paper body tube from water damage, but you must still be careful. The rocket is still vulnerable at certain points, particularly the ends of the body tube. When wet sanding a paper rocket, you dampen the paper in some water, sand lightly, and rinse the paper from time to time. Shake off excess water before re-sanding, and occasionally wipe away any excess water pooling on the rocket as you sand. Water can run around the unpainted ends of the paper tube and soak into the paper fibers, causing the tube to swell, basically ruining your work, so keep the moisture on the rocket to a minimum.
The risk of damage can also be reduced if, while building the rocket, you ran a ring of CA or cyanoacrylate (hobby grade super glue) around the insides of the ends of the body tube. The CA soaks into the paper fibers, stiffening them up and preventing them from soaking up moisture if you accidentally get the end of the rocket wet.
 |
Thin or medium CA (cyanoacrylate - hobby grade super glue) can protect paper fibers from
water damage, if you end up wet sanding the paint. It also strengthens the end of the tube. |
With a smoother finish and lighter rocket, how would the painted Monarch perform against the unpainted one?
Let's say we only saved 6 grams of weight. I'll change the mass to reflect that, from 75.8 to 69.8 grams. And I'll adjust the simulated finish to "Smooth paint" - let's say I got the surface smooth enough, but wasn't terribly fussy about it.
Let's run some simulations and see how the rocket performs.
First, let's look back at the results for the unpainted, rough Monarch.
And now for the 6-gram-lighter, painted version.
The painted rocket is now flying higher than the unpainted one - quite significantly on the D12 motor, but even on the C6 for which the Monarch was designed.
Could we go even lighter? Sure! Different kinds of paint - enamels (such as used here), lacquers, and acrylics, surely have different weights when dry. Even different brands of paint with a similar base (such as two different brands of enamel) may have different dry masses.
For the Monarch, I used Rust-Oleum Painter's Touch 2X Ultra Cover Gloss enamel paints. For my prettiest rocket, the Astron Sprint XL, I used Krylon Color Master gloss enamel paint. Krylon used to be the go-to paint for many rocketeers, but when they changed formulas a number of years ago, some people didn't like it, and switched brands. I've used it on a few rockets, and while some cans do seem to have problems, when it comes out correctly, it's beautiful - and very, very smooth.
 |
With the exception of the one flaw seen here, which I was able to polish out, the Krylon
paint went onto the Astron Sprint XL perfectly, making a beautiful nose cone. |
Although I didn't weigh the rocket, it also
seemed light. I use Rust-Oleum 2X for most of my builds, and having done so, I can just say that it
seems a little heavy. But here, I don't have any data - this is the first time I've attempted to weigh the paint job on a rocket.
Still, there's another possibility: using an
airbrush.
I can't tell you much about using an airbrush just yet, as I don't have one. It's on my shopping list, and when I feel comfortable enough about it, I'll discuss using the airbrush on the blog. An airbrush is a bit of an investment - you need not only the airbrush itself, but a compressor and one or two other items for maintenance. And I imagine there's a bit of a learning curve.
But, at a recent launch, I had a conversation with Jim Flis, owner of
Fliskits, and we got on the subject of airbrushes. I asked his advice. The advantages of an airbrush are that there's very little wasted paint, and little overspray. Also, depending on what paint you use, there's little smell, and dangerous paint fumes are less of a worry. You can paint inside. You don't have to worry about gnats landing in your wet paint and marring the finish.
And I said to him, "Sounds like it's really lightweight."
"Oh, yes," he said. "If I were doing competition rocketry, I'd use an airbrush."
That sounded pretty good to me.
Let's do one final simulation, based totally on a hypothetical situation and a guess on my part. Let's imagine we've built the Monarch, used our standard primer - which we'll say adds two grams to the rocket - and painted extremely light, either with an airbrush or some kind of miraculous rattle can of spray paint - and that we've managed to add only 2 grams of paint.
Our Monarch is perfectly built, glass smooth, and weighs only 61.4 grams. How high might it go?
Now, we've gained some serious altitude, flying over 70 feet higher than the unpainted rocket on the C6-5 motor and 188 feet higher on the D12-5.
Scaling Up and Down
You can see that smooth and light are the keys to maximizing the performance of your model rocket. This particularly makes a difference for small, low power rockets. When you get into mid power and high power rockets, and larger vehicles, the effects I'm describing here aren't likely to scale exactly, for a couple of reasons.
The first is that when something increases in size, the ratio of surface area to volume decreases. So, if you had two versions of the same model, one 14 inches tall and the other 4 feet tall, you may apply the same amount of paint per square inch to each rocket, but the surface area you're painting on the larger one will be less compared to its overall size.
Also, while it's easy to add a half ounce of weight to a small, 7 ounce model rocket, you're not very likely to add
5 pounds of paint to a 70-pound Level 3 high power rocket!
Building small rockets has some real challenges, and keeping things comparatively light is one of them.
I wasn't expecting to go this deep into things when I asked myself this question on the weight of paint, but it's certainly been interesting to think about.
Follow me on Twitter.
Like my Facebook page for blog updates and extra stuff.
Have a question you'd like to see addressed on this blog? Email me at iamtherocketn00b@gmail.com.