You have a basic Skill Level 1 rocket kit or two, and want to get started in rocketry.
This is going to be a lot of fun!
But to build rockets, you're going to need a few tools. Where to start? Do you need to go nuts at the hobby shop and hardware store just to build your first rockets?
Of course not. Starting out in rocketry requires relatively little, and you can add more tools as you decide you need them.
So here are some of the tools you'll need. There are the basics, which you'll need for just about any rocket, then a few things that are nice to have. There's probably no limit to the number and assortment of tools which have been applied to rocketry, but you can acquire things as you go, if you get into more advanced building.
Actually, you could probably classify the items in this post into two categories:
tools, which you'll use over and over again, and
materials, consumable items which you'll use on each rocket, and which you will have to replace.
Some tools you have to buy, but in rocketry, often you see people using
improvised tools. Rocket building encourages and rewards creative problem solving!
 |
Rocketry encourages and rewards creative problem solving. Here is a simple but ingenious solution to the problem
of getting rocket fins on straight, on an Estes Ventris mid power rocket, by rocketeer Brian T. La Rose |
As you'll see, the tools and materials for the rocketry beginner are very affordable, even if you're on a tight budget.
* * *
The Basics - Tools
Here are the indispensible tools and materials you'll need just to begin.
A pencil
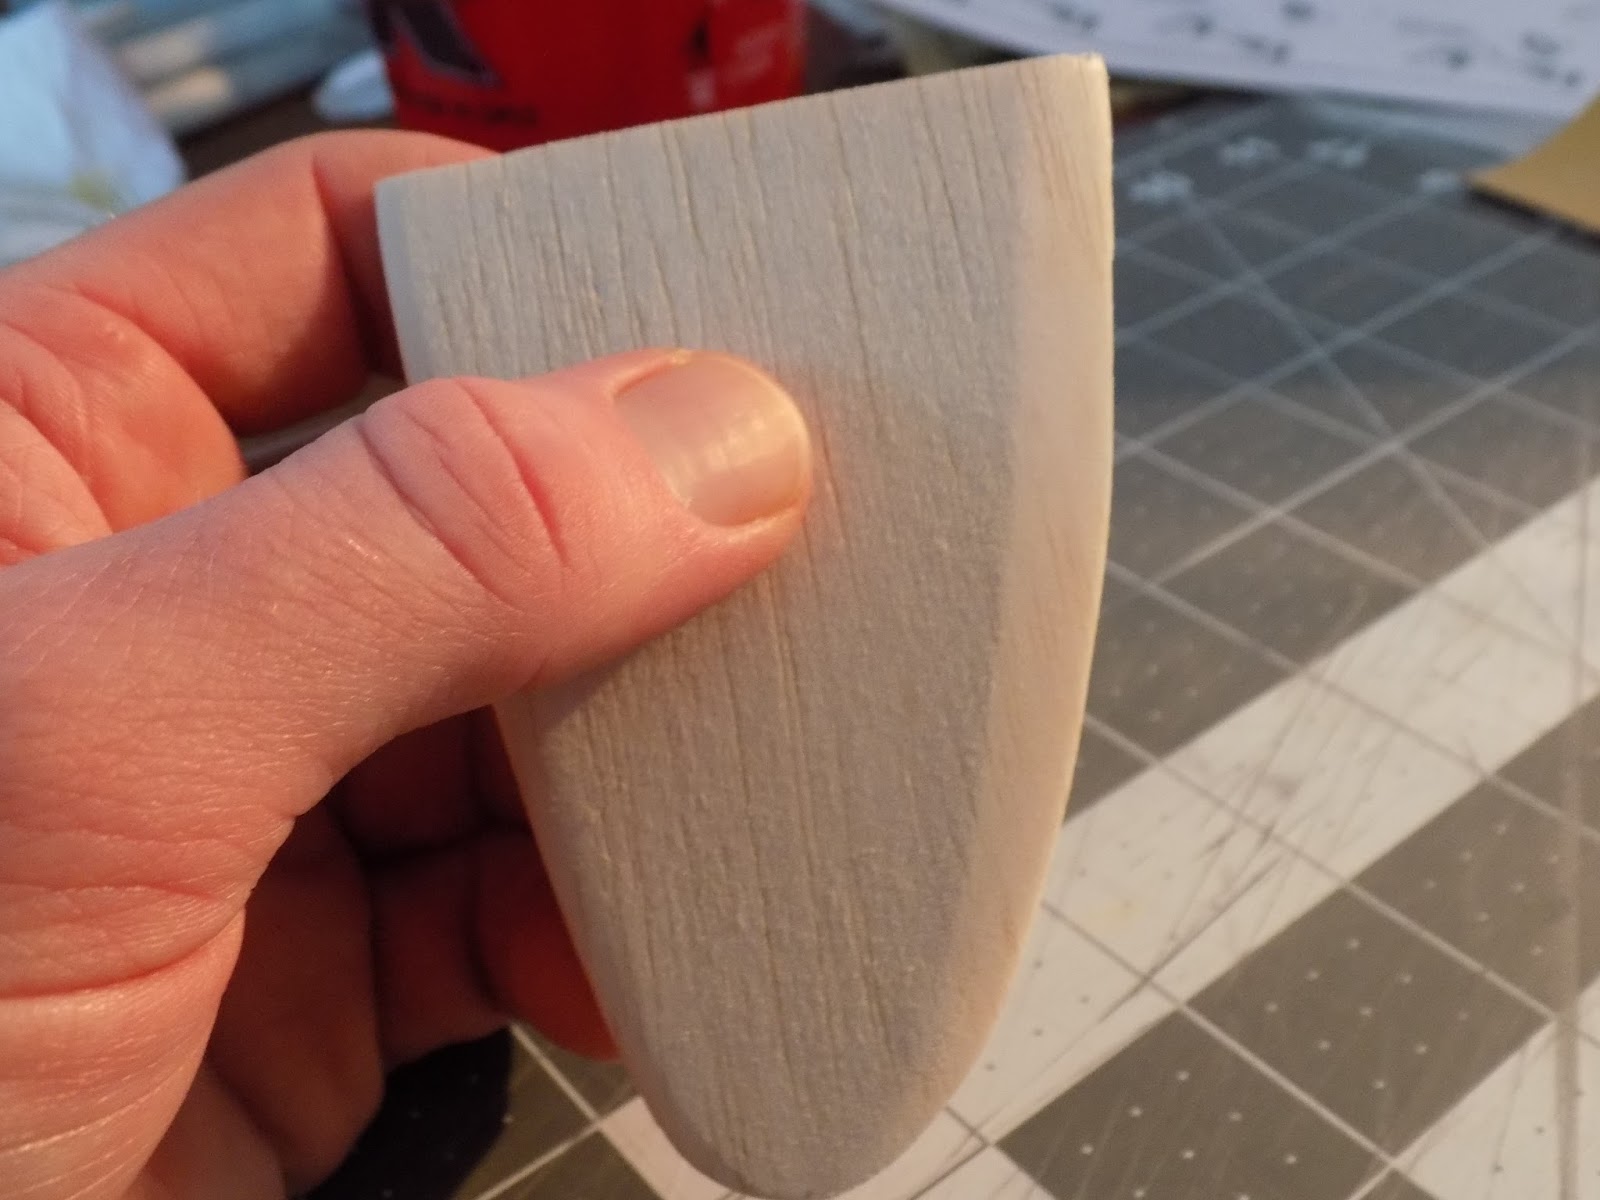
You'll use this to make marks on the body of the rocket to help you place the fins on accurately, and to mark off measurements. If you want to start using some more advanced techniques, like, say, sanding rocket fins into a "teardrop" or airfoil shape, you'll use the pencil to make marks on the fins.
Always use a pencil. Never use a pen or marker to make these kinds of marks on a rocket, because the ink will bleed through the paint.
A metal ruler
You can measure things with a wooden or plastic ruler, but often you use the ruler to guide cuts that you make with a hobby knife. The metal ruler won't get marred by the knife.
You should get a ruler with a cork backing. This will help keep the ruler from slipping.
I started with a six-inch ruler, seen in the photo above, but quickly realized I needed a longer one, so I bought the 12-inch ruler. I should have just gotten an 18-inch ruler to start with. Get at least a 12-inch ruler if you can.
A hobby knife
You might know this as an "X-Acto" knife. X-Acto is the Kleenex of hobby knives, in that it's so ubiquitous people often refer to the tool by the brand name. But you can find cheaper ones.
The hobby knife has a chuck into which you can insert a number of disposable blades. The blade you'll use most often is the #11 blade.
I have several hobby knives. One interesting one is from Fiskars.
This is a kind of precision hobby knife, which uses the same blades as a standard hobby knife. The difference is in how you hold it. Instead of holding it like a pencil, you put your index finger through the loop, giving you more control over the knife.
While I like the design of this hobby knife, I have to admit I haven't used it all that much.
Another option for cutting, recommended by Chris Michielssen of the
Model Rocket Building blog, is the kind of box cutter with breakable blades. When the blade gets dull, you break off a section and you have a new blade right there. They're pretty economical, and work well for all but the fiddliest, precision cutting.
A cutting mat
My cutting mat is the background to a lot of the pictures on this blog. What many rocketeers use is what's known as a self-healing cutting mat. You can find them at craft stores, hobby stores and fabric stores.
Olfa is a popular, prominent brand, but mine is from Fiskars. They're pretty much the same, except for the color - and the price. A self-healing mat can cost $20-$40. But I got mine for about $14 from Michael's Crafts with a 40% off coupon.
I started out just using newspaper as a cutting mat. If you use a thick pile of newspaper, say, a whole Sunday New York Times, that will work. Just be careful not to cut through it into the table. A cutting mat is a better option.
If you're on a budget - or in a hurry - check out the dollar store. When I was about to teach a model rocketry camp this summer, I got a 3-pack of flexible cutting boards for a dollar.
They may not look as fancy or last as long, but they're cheap, and they should do the trick.
A sanding block
You don't have to buy a sanding block. You can simply make one. A short length of 2X4 wood, or anything that's perfectly flat, rectangular, and be easily held in the hand will work. You just wrap a length of sandpaper around it, and you're ready to sand.
Or, you can get a sanding block from a hardware store.
However, I highly recommend the Great Planes hand sander, seen above. Since I first bought one after learning about it from Chris Michielssen's blog, it has become my absolute favorite tool to use.
It's so simple, comfortable to use, lightweight, and perfectly flat. You simply use spray adhesive to attach any grit of sandpaper to its surface, or you can buy sandpaper with an adhesive backing already applied.
 |
| A comfortable handle |
 |
| The sanding surface |
At
under $8 on Amazon, I love this tool so much, I've ordered a second one. That way, I can have two different grits of sandpaper ready to go without having to change sheets each time I need a coarser or finer grit.
Dowel rods or craft sticks
I almost didn't include this in the Indispensable Tools for a Beginner section, but they're so useful and cheap, I think you need to have them.
Dowel rods and craft sticks are useful for many applications in rocket building. But the thing that makes them indispensable, even for the beginning rocketeer, is that they're necessary for getting glue into hard to reach locations, such as up inside a rocket body tube or motor tube. For doing that, I prefer skinny dowel rods, about 1/4 or 1/8 inch in diameter.
But dowel rods are useful for so many things. Here's what I'd call "improvised tools," consisting of dowel rods with expended rocket motor casings attached to the ends.
These are painting wands. You insert the expended motor casings into the rocket just as you would a rocket motor. Then you can hold the wand and spray paint the rocket without touching it - very important if you want to get a nice finish on the rocket, and minimize the amount of paint you get on your hands!
Scissors
I'm pretty sure you know what scissors are for...
For an Absolute Beginner Rocket N00b toolbox, that's all you need. There are a lot more things you'll probably want, but that will get the rocket built.
That is, as long as you have...
The Basics - Materials
These are things you'll use on each rocket, but they're not reusable. You will run out and need to replace them.
Things like...
Glue
There are two main types of glue you might use in basic rocket building, and they're frequently referred to as yellow glue and white glue. Yellow glue, which is technically known as aliphatic resin, is more commonly called wood glue or carpenter's glue. You can see my particular brand on the left. White glue, also known as polyvinyl acetate, or PVA, is so called because it's white in color. Either of these works well. I happen to prefer wood glue, but that's just a personal choice.
What you absolutely do not want to use to build rockets is "school glue" or anything washable. Washable glues are not strong enough, and a little moisture can ruin your rocket.
Some beginner's-level rockets require you to glue plastic parts together, or to glue plastic to a paper body tube. In that case, you may need some plastic cement.
This stuff actually melts the plastic so that it bonds with other parts more easily. It's nasty stuff, but sometimes necessary.
Sandpaper
To get started, you'll probably only need two grits of sandpaper. The higher the number, the finer the grit, and the smoother you can sand something. But, of course, sometimes you need a coarse grit of sandpaper if you're trying to remove material and sand something down, rather than just make the surface smooth.
For a beginner, 220 grit and 400 grit will be what you need. You can experiment with coarser and finer grits of sandpaper - say, 100 grit for a tough job that requires sanding something off, or 600 or 800 grit for getting a really smooth surface. But for most applications, these two will work great.
Paint and primer
Technically, these are optional. You can fly your rocket without painting it. But most people choose to pain their rockets, and you probably do too.
You have a lot of options here. The main thing is to make sure your primer is sandable. You can either go with a primer called "sandable primer," or with something called "filler primer," which is not only sandable, but also helps fill in imperfections in the rocket's surface.
Primer is basically "the paint you paint before you paint." It helps the actual paint to adhere to the surface, and using a sandable primer means you can get a really smooth surface for the paint to adhere to. This will help you get a smoother, nicer-looking (and better-performing) rocket.
There are a lot of different spray paints you could go with, but a couple of tips for the beginner: stick with the same brand and line of paint for each color you use (Rust-Oleum 2X enamel paint, for example); start with the lighter color first, and do the darker colors over that; don't mix kinds of paint, e.g. lacquer and enamel.
That's it. That's your beginning rocketry tool box.
* * *
There are a ton of other tools and materials you might use as you get more into rocketry. For the beginner, the following are a few things it's nice to have, but aren't strictly necessary.
Aluminum angle, or "angle iron"
This is one of those improvised tools used by a lot of rocketeers. It's a piece of aluminum that has two sides at a 90 degree angle. You find it in 3 foot long sections in the hardware store, often near the steel rods (which you can use to build launch pads!). I have no idea what they're really supposed to be used for - making doors, maybe? Or windows? But they're used in rocketry a lot.
With a piece of aluminum angle, you can draw a line straight up the side of a body tube, because the angle will sit perfectly on the tube.
 |
I marked inch lines on this piece of aluminum angle,
so that it could double as a rough kind of ruler. |
Traditionally, rocketeers used a door jamb or the edge of a drawer to draw straight lines on a rocket airframe, but this technique has drawbacks.
Those drawbacks include marking up the door frames of your house with pencil, and getting lines on your rocket which are not perfectly straight, due to imperfections in the door frame or drawer edge.
A small, 1/2 inch aluminum angle may serve all your needs. You can get a larger one when you build larger diameter rockets, but a small one may serve as well. They're pretty inexpensive.
Utility knife
For heavier-duty cuts.
Razor saw
Much like a hobby knife, this is a handle with a chuck on the end. The blades are replaceable. It's a very thin saw for cutting things like wood or plastic.
I held off getting one of these for a while, but I find it very useful. There are several basic rockets which might be easier to build if you have one of these. For example, if you get the Estes Tandem-X launch kit, which has a launch pad, launch controller, and two rockets, one of the rockets you'll have is the Estes Crossfire ISX - a great little high-flying rocket.
When you build it, you will have to cut the nose cone into a few pieces - the nose cone itself, plus a "nozzle" for the aft end of the rocket. The kit instructions suggest using a hobby knife for this.
You could use a hobby knife or utility knife, but it would take quite a long time. You might be tempted to press really hard, and risk cutting yourself, or damaging the parts, or breaking the hobby knife blade. You could also use a utility knife, which would take a bit less time, but still require some work. A razor saw makes short work of cutting plastic parts like those.
I used a hacksaw when I built my Crossfire ISX. Overkill, perhaps, but I didn't have the patience to use a hobby knife safely, and didn't have a razor saw in my toolbox yet.
This required lots of sanding, not to mention borrowing a hacksaw, as I didn't have one of those either.
Now that I have a razor saw, I use it all the time. I've even used it to build other tools.
* * *
There are lots of other tools, materials, and techniques you'll adopt as you advance in rocketry. Some of these will be to make your rockets look or fly better, and some of them will be because you'll use sturdier materials as you build bigger, more powerful rockets. But if you're just starting out, this tool box will serve you well, and you'll use all these tools for many rocket builds to come.
In an upcoming post, we'll see some more tools and materials you may want to consider, to make rocket building easier, and to make your rockets look even better.