I did it! I got my Level 1 high power rocketry certification! This means that I can now purchase and fly H and I impulse rocket motors!
Yesterday's 14th Annual FlisKits Anniversary Launch in Berwick, Maine, was incredible. The field is huge and flat, and despite the breeze, most people got all their rockets back.
I took a total of 10 rockets with me, but only flew three. Those three flights, however, were spectacular. I flew the Estes Nike Smoke and the Ventris on Estes G40 composite motors.
But my first flight of the day was the certification flight, which I did with the Estes Leviathan. I decided to do that one first, so I could get over my nerves and just have fun the rest of the day.
I'm still waiting for some pictures, and need to edit video, but here are the photos of the preparation I did for flight.
 |
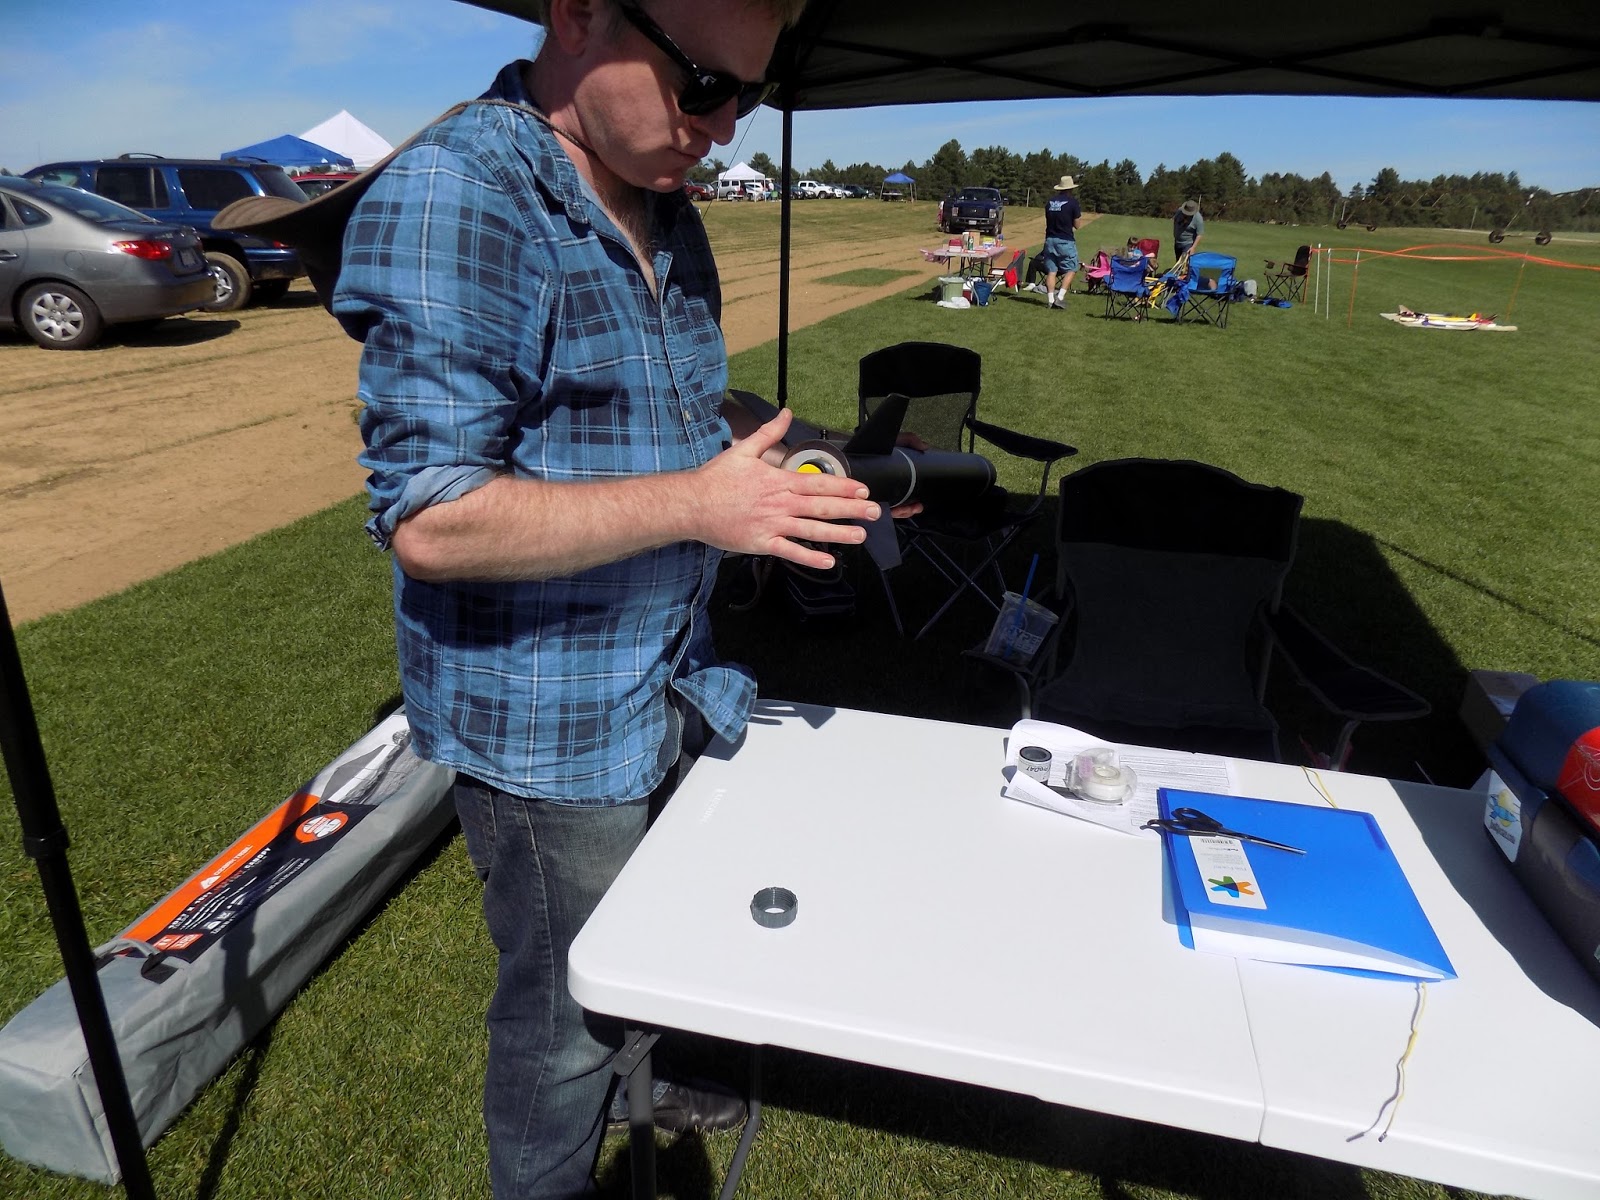
| The motor I used was a Cesaroni H133 composite reload. The motor comes with a 14-second delay. |
 |
| The H133 burns for about 1.2 seconds. Its average thrust is 133 newtons, but its peak thrust is around 200 newtons. |
 |
Cesaroni reloads are really easy to assemble, but you should always
read the instructions. They come wrapped around the motor. |
 |
| Siting on the folder is the delay grain. Next to the folder is a delay drilling tool. 14 seconds is too long a delay for this flight. I need about 9 seconds' delay between motor burnout and ejection of the recovery system. |
 |
I set the delay drilling tool to remove 5 seconds from the delay grain. I then put the tool against
the delay grain and twist and twist, drilling out material until the tool won't go any further. |
 |
| I've removed just enough material from the center of the delay grain to make it burn for only 9 seconds. |
 |
| After returning the delay grain to the motor liner, I insert the whole reload - delay grain first - into the aluminum casing. |
 |
| Closing up the motor with the aft closure |
 |
| Uncoiling the igniter wire |
 |
| Next, I insert the motor into the rocket and screw on the Quick Release motor retainer. |
 |
| Then I tape the igniter to the rocket so I won't lose it on the way to the launch pad. |
 |
| With high power motors, you're not supposed to insert the igniter until the rocket is on the pad. |
 |
| I pull off the nose cone and unpack the recovery system, so that I can re-pack it properly. |
 |
| Folding the parachute on the table proved an impossible task in the wind, so I moved to the ground for this step. |
 |
| After folding the chute, I attached the Jolly Logic Chute Release. My simulations told me the rocket would fly between 2010 and 2090 feet high. I don't want the chute to open at apogee, or I might have a long walk to recover the rocket. |
 |
| I set the Chute Release to open at 400 feet. |
 |
| Finally, I re-pack the recovery system. |
 |
| Although I've packed a little cellulose insulation into the rocket as wadding - rocketeers commonly refer to this as "dog barf" - I use added protection for the parachute and Jolly Logic Chute Release. This is a flame-retardant Nomex parachute protector. I wrap the chute and Chute Release in what rocketeers refer to as a "burrito." |
 |
| It's not the most neatly-folded burrito, but it will do the trick. Some rocketeers rely solely on a Nomex sheet. While it does work, Nomex can burn through after a few flights. A combination of Nomex and cellulose "dog barf" wadding increases chances of a successful recovery. |
 |
| I used a dowel to push the recovery system down into the rocket so I could get the nose cone all the way on. |
 |
| The Leviathan is a nice, big kit. I'm pretty proud of how it turned out! |
 |
| It looks great on the pad! |
 |
| Ready and awaiting countdown and launch! |
Video and photos of launch and recovery coming soon!
Follow me on Twitter.
Like my Facebook page for blog updates and extra stuff.


Terrific Job. Congratulations!
ReplyDelete