
So, what else can I work on?
Sounder I
Sounder I is a cute little rocket I designed to go high - 2800 feet on an Estes E9-6 motor. If I add a booster with a D12-0 motor, it could go as high as 3500 feet.

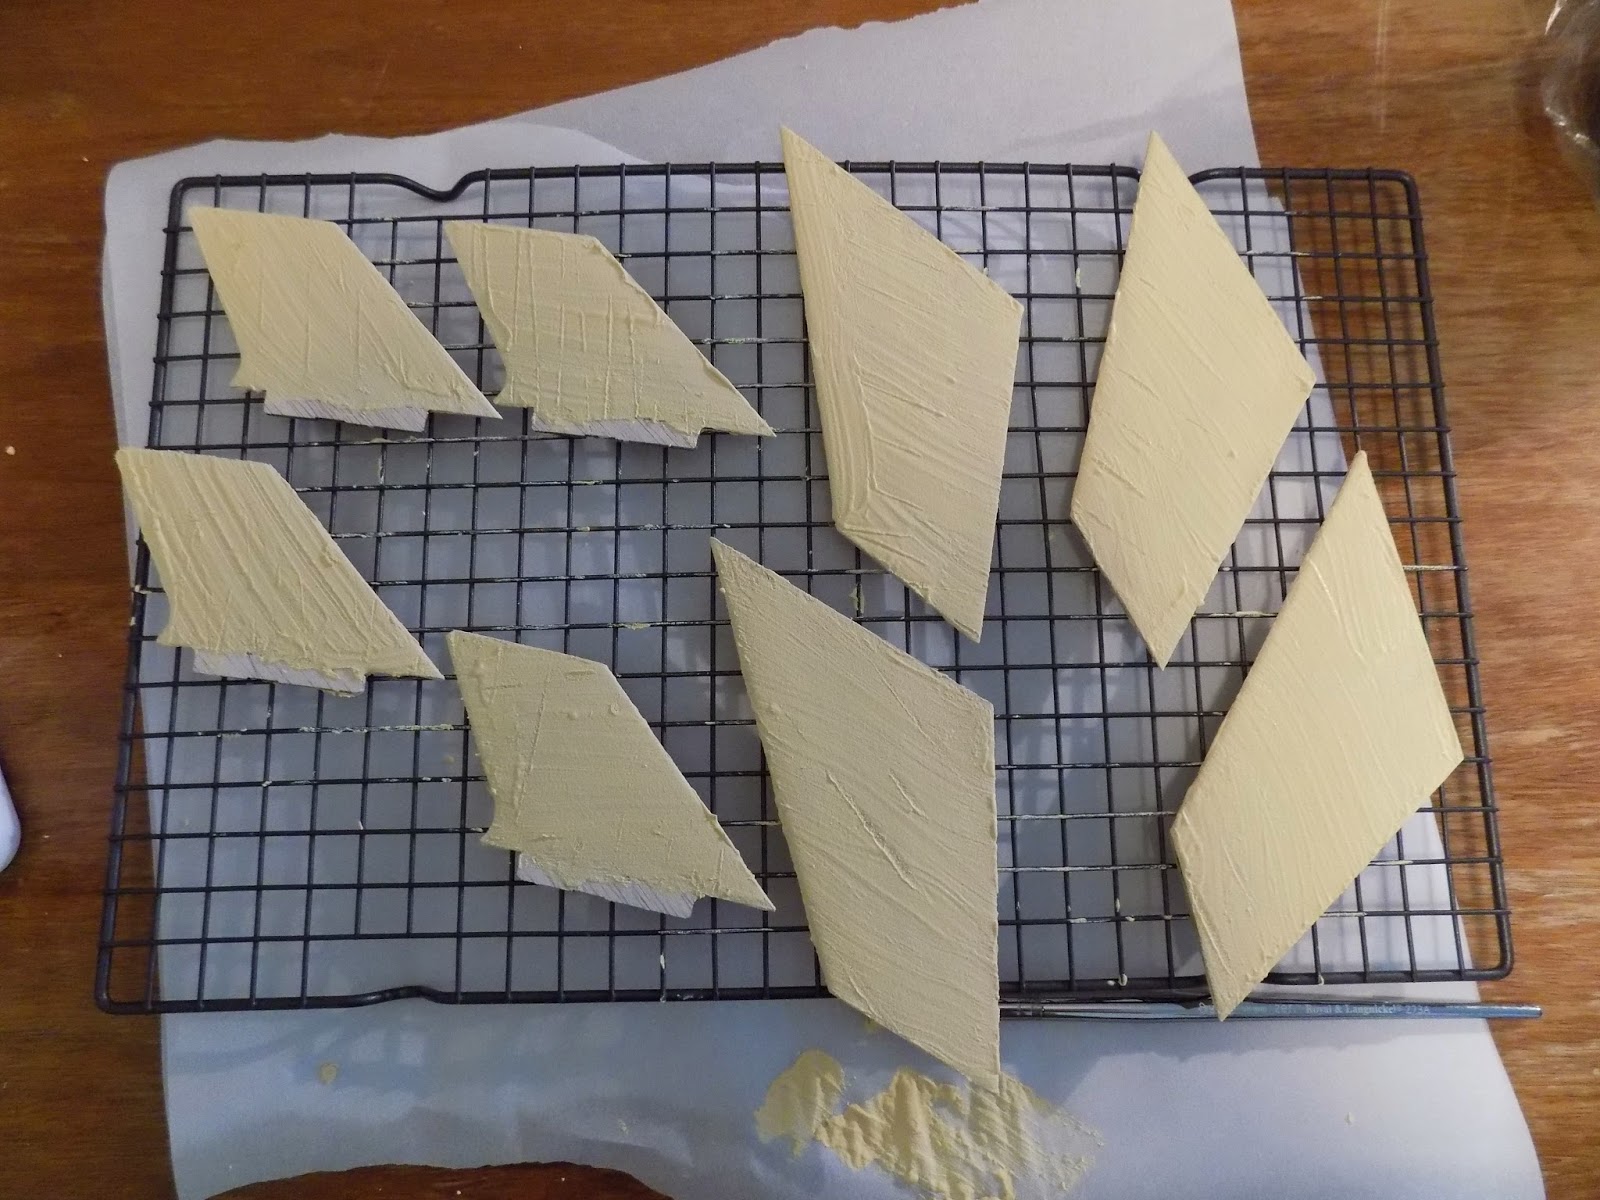
The first time I tried painting this color on, I got some weird paint problems. There was some discoloration, and worse, the texture was like sandpaper. I don't know how it happened, but I've had this occur two other times in the past - the worst being on my last Cosmic Explorer:

Chad gave me his rockets when he moved out to upstate New York, and a couple of his rockets had this texture. I thought how on Earth did he do this?? Then it happened to me.
I think it was related to temperature or humidity, or to the fact that I wiped the rocket down with rubbing alcohol just prior to painting. This was to remove dust without using water; primer is porous, and water can damage the rocket. But of course, alcohol evaporates quickly, cooling down the surface of whatever it's rubbed on. Perhaps I painted too quickly after the alcohol, and the difference in temperature between the paint and the surface of the rocket caused this.
The only solution was to wet sand the horrible texture off, which causes you to lose some gloss and some color. In any case, I'm not going to risk this happening again until it's warmer outside.
Sounder I will also be my first rocket which uses micro rail buttons instead of a launch lug. This allows you to launch from a Makerbeam rail instead of a rod - a miniature version of the common high power rocket launch platform. I already have the rail, but haven't mounted it to anything. So I guess I need to go to the hardware store and get some stuff to build the launch pad.
Trident A 3-Motor Cluster
Trident A, my 3-motor cluster design, has a couple of issues.

I got a fin on crooked. The fins have tabs on them, which set between the three motor tubes, which are exposed, rather than being hidden inside the rocket. In order to get the fins on right, I had to sand the tabs to a point, which turned out to be trickier than I'd thought. Perhaps that is why I had a fin go on crooked, I'm not sure. But I didn't even notice it until I was painting, when it was suddenly really obvious.
 |
| The used motors are in place to keep paint out of the motor tubes. The open tube is the one that goes onto the painting rig. |

This rocket may not turn out looking great. But it'll fly, and sometimes a build just doesn't go your way. At least this was my own design, and not an expensive kit.
Ceres B Booster
Ceres B - from the design in Mike Westerfield's book, Make: Rockets: Down-to-Earth Rocket Science, is now at the primer stage. I love the way a rocket looks when it's covered in primer. It looks solid and serious.

Had a bit of a whoopsie with this one, too. I'm using filler primer, in hopes of covering some of the flaws in the fins. Filler primer has a build to it, so it can fill in scratches. I usually mask off the motor tube and hook. In this case, I forgot to do that. I got some primer in the little notch where the hook comes out. The notch is to allow you to pull the hook away from the tube so you can get the motor in. I basically primed that notch closed. I had to clear it out with a hobby knife.

Cosmic Explorer with E Motor
A few months ago, I started a series on this blog about upgrading a kit to a larger motor size (mistakenly calling it a "kit bash"), with the Estes Cosmic Explorer. I abandoned that series, because I built the rocket and forgot to take enough pictures, then I lost the rocket on the first flight.
But what a flight!
.jpg)
.jpg)
.jpg)
The rocket went over three times as high as the standard Cosmic Explorer! So, I'm building it again, and I'll have a series about that. I'll also have a post about sanding your fins into airfoil shapes, which I did for the Explorer:


Other Stuff...
I hope to make some progress on the Quest Big Dog in the next couple of days. And I'm slowly chipping away at an upcoming post about rocket stability, for fellow rocket n00bs. That one is taking me a while, because I want to make sure it's a) accurate, b) easy to understand, and c) not a boring pain to read. But it's an important post for this blog, because I have a future series planned on designing your own rocket - which isn't as hard or intimidating as you may think. I'd go so far as to say that it's easy, at least for your basic rockets. But understanding stability is an important prerequisite.
So, that's what I'm up to. I guess I should stop writing and go work on my rockets - I have a ton of sanding to do...
Like my Facebook page for blog updates.
No comments:
Post a Comment